
 Pin it
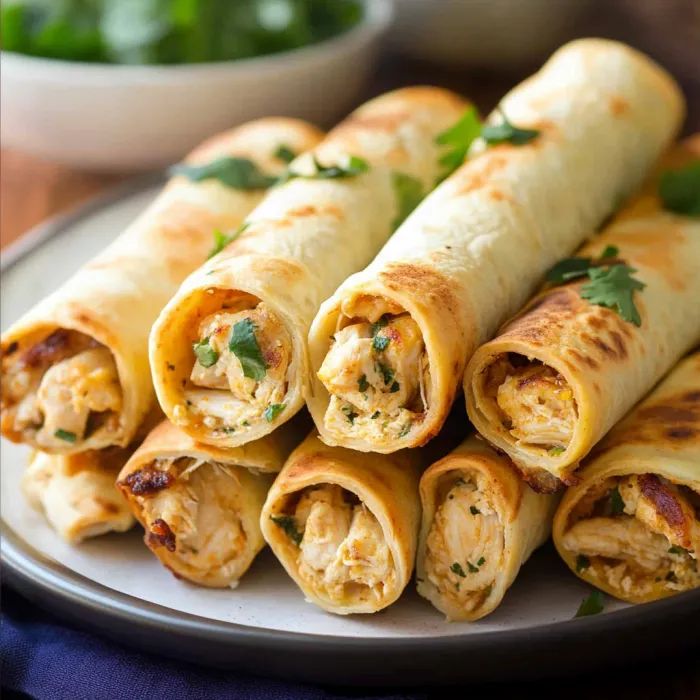
The first bite of a Baked Chicken Taquito delivers that perfect contrast of crispy tortilla exterior and creamy, savory filling. These homemade taquitos transform simple ingredients into impressive rolled treats that are lighter and fresher than their deep-fried restaurant counterparts. After years of experimenting with various fillings and techniques, I've found this combination creates the ideal balance of flavors and textures while being surprisingly simple to prepare.
Last Cinco de Mayo, I served these at a family gathering, and they disappeared faster than any other dish on the table. My nephew, who typically avoids trying new foods, ate four in a row. The secret lies in warming the tortillas properly before rolling, which prevents cracking and creates that perfect crispy exterior.
Essential Ingredients and Selection Tips
- Cream Cheese: Provides the creamy base that binds the filling. Full-fat creates the richest flavor, but reduced-fat works too
- Salsa: Use your favorite variety for easy customized flavor. Chunky styles add nice texture
- Lime Juice: Fresh is essential for bright flavor that balances the richness
- Spices: The combination of cumin, chili powder, and onion powder creates authentic Mexican flavor
- Chicken: Rotisserie chicken saves time and adds flavor. Dark meat stays moister in the filling
- Pepper Jack Cheese: Adds meltability and mild heat. Substitute with cheddar or Monterey Jack if preferred
- Flour Tortillas: 6-inch size works best for appetizers, 8-inch for main dish portions
- Cooking Spray: Creates even crispness without deep frying. Olive oil spray adds flavor
Detailed Cooking Instructions
1. Create the Perfect Filling
- Step 1:
- Beat cream cheese until completely smooth before adding other ingredients
- Step 2:
- Mix in salsa, lime juice, and spices until well combined
- Step 3:
- Fold in chicken and cheese gently to maintain texture
- Step 4:
- Taste filling and adjust seasonings before assembling
- Step 5:
- Let filling rest 10-15 minutes for flavors to meld if time allows
2. Master the Rolling Technique
- Step 1:
- Warm tortillas properly - 30 seconds wrapped in damp paper towels in microwave
- Step 2:
- Work with one tortilla at a time, keeping others covered
- Step 3:
- Place filling in a line slightly off-center toward one edge
- Step 4:
- Roll tightly starting with the filling edge
- Step 5:
- Secure seam-side down on baking sheet
- Step 6:
- Arrange in a single layer with space between each taquito
3. Perfect the Baking Method
- Step 1:
- Preheat oven thoroughly to ensure crispy results
- Step 2:
- Spray taquitos evenly with cooking spray for uniform browning
- Step 3:
- Sprinkle with kosher salt just before baking
- Step 4:
- Rotate baking sheet halfway through cooking
- Step 5:
- Look for golden brown color and listen for hollow sound when tapped
 Pin it
My journey with this recipe began when trying to recreate a healthier version of the deep-fried taquitos I enjoyed at my favorite Mexican restaurant. The breakthrough came when I discovered that a light spray of oil and high-temperature baking created a remarkably similar crispness without the mess and calories of frying.
Temperature Matters
I've found that a truly hot oven (425°F) is crucial for achieving that perfect crispy exterior while maintaining a moist filling. Lower temperatures result in dry, tough taquitos, while higher temperatures risk burning before the filling heats through.
Make-Ahead Magic
These taquitos shine as a make-ahead option. I often prepare a double batch, freezing half for future meals. The unbaked taquitos freeze beautifully and can go directly from freezer to oven, making them perfect for impromptu entertaining or busy weeknight dinners.
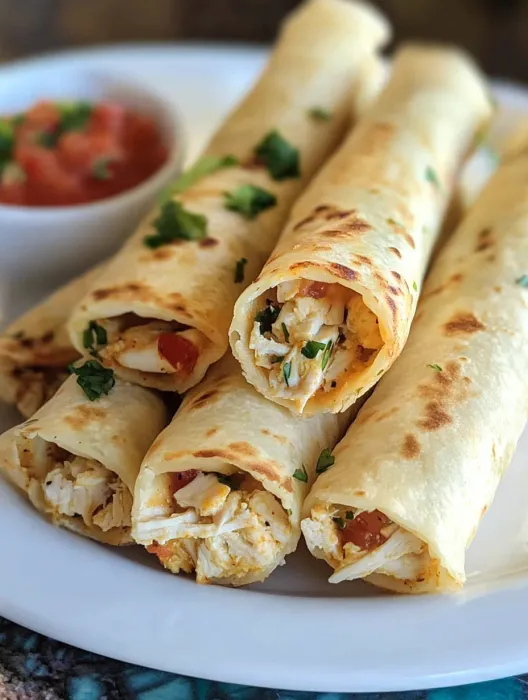
Serving Strategy
While delicious on their own, these taquitos reach their full potential when served with an array of dipping options. I typically offer a trio of accompaniments - cooling sour cream, fresh guacamole, and spicy salsa - allowing guests to customize each bite according to their preference.
Family-Friendly Adaptation
For households with varying spice preferences, I've found a clever solution: prepare the base filling without spices, divide it in half, then add mild seasonings to one portion and more robust spices to the other. Color-coded toothpicks identify which is which, allowing everyone to enjoy their perfect spice level.
Final Thoughts: These Baked Chicken Taquitos represent the perfect blend of convenience and homemade quality. The combination of crispy exterior and flavorful filling creates an irresistible treat that works for any occasion. Whether served as an appetizer, quick lunch, or main dish with side salad, they consistently deliver satisfaction and compliments. Their versatility and freezer-friendly nature make them a valuable addition to any cook's repertoire.
Frequently Asked Questions
- → Can I make these with corn tortillas?
- Yes, corn tortillas work well but require a bit more care. Use fresh, high-quality corn tortillas and heat them briefly in the microwave to make them pliable. Since they're smaller than flour tortillas, you may need more of them, and they typically cook faster in the oven.
- → How do I freeze these taquitos?
- Freeze them after baking and cooling completely. Place them in a single layer on a baking sheet until frozen solid, then transfer to a freezer bag. Reheat from frozen in a 375°F oven for about 10-15 minutes.
- → What can I use instead of chicken?
- Shredded beef, pork, or even black beans for a vegetarian version work great with the same seasonings and preparation method.
- → Can I prepare these in advance for a party?
- Yes, you can roll them up to 24 hours ahead and store covered in the refrigerator. Spray with cooking oil and add salt just before baking.
- → What can I serve with these taquitos?
- They pair perfectly with guacamole, salsa, sour cream, or Mexican rice. For a complete meal, add a side of black beans or a simple green salad.