
 Pin it
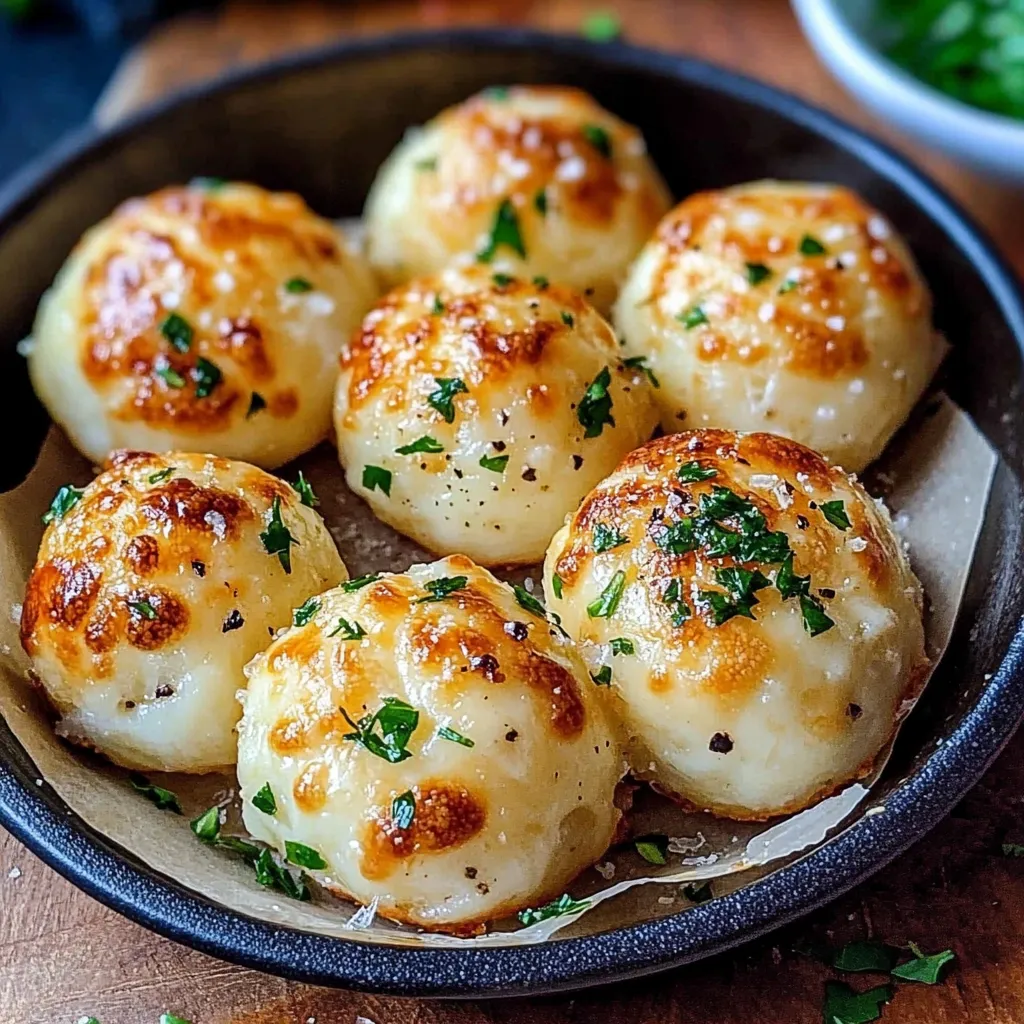
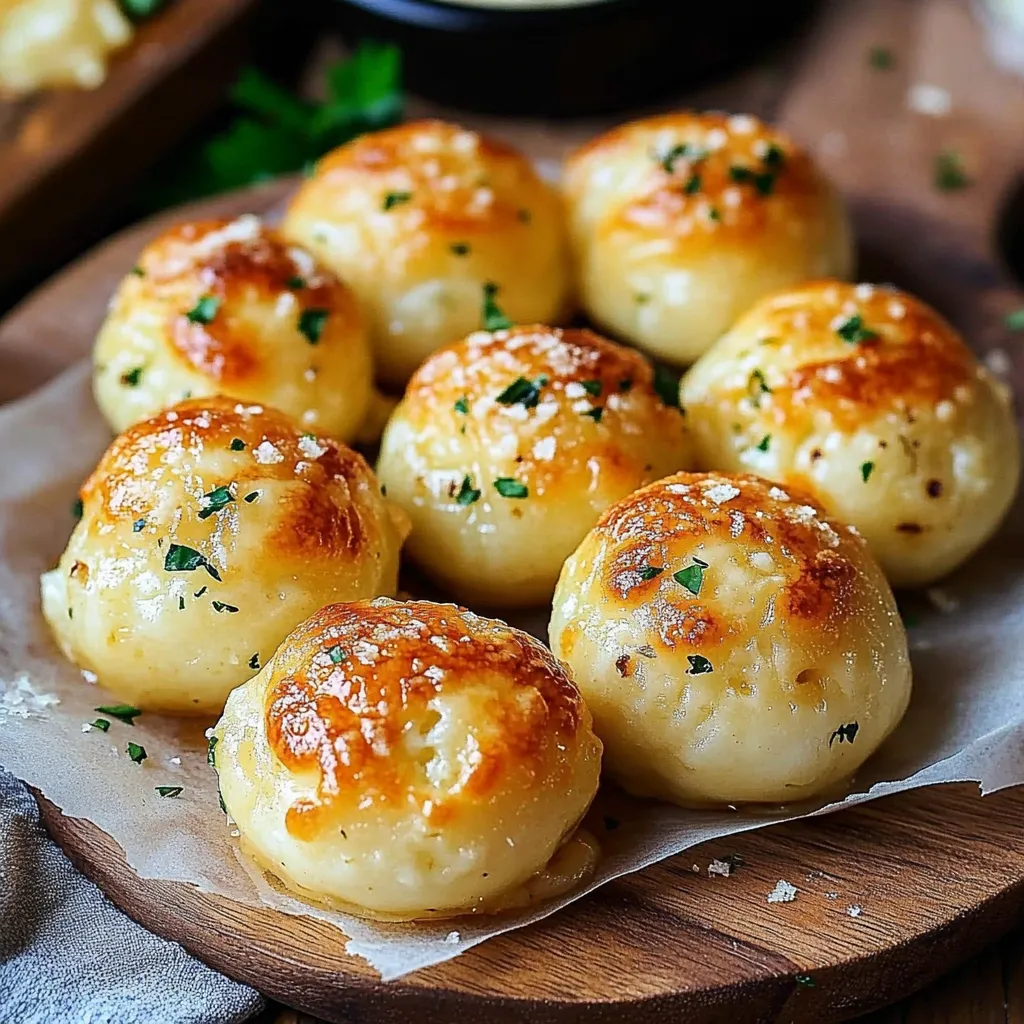
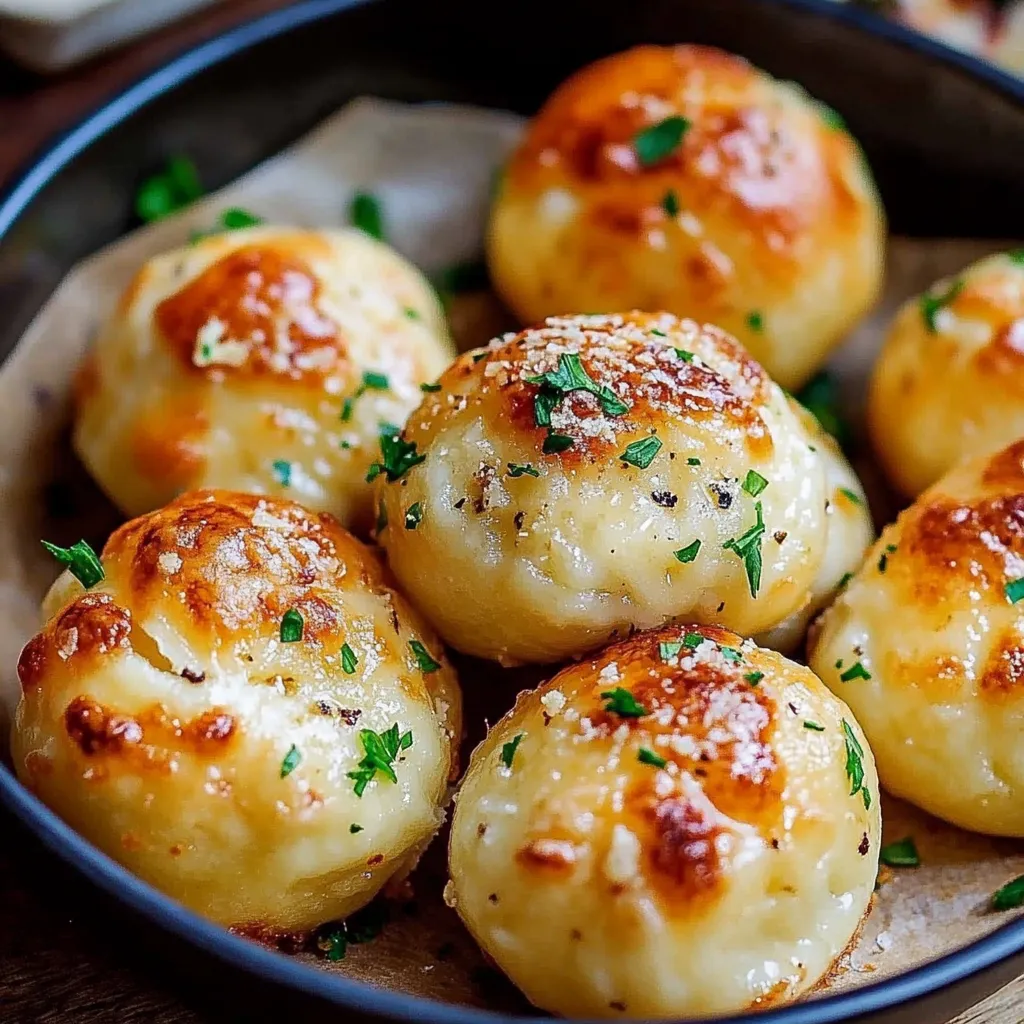
This hearty cheesy garlic bombs recipe transforms simple ingredients into irresistible bites of gooey, buttery bliss. The crispy exterior gives way to melted mozzarella that stretches with each bite, creating the perfect appetizer or party snack everyone will fight over.
I first made these bombs for a last-minute game night, and they disappeared faster than any other dish I've ever served. My nephew now requests them for every family gathering, calling them "those exploding cheese balls" with pure delight in his eyes.
Ingredients
- Pizza dough 500g: provides the perfect chewy texture and golden crust when baked
- Mozzarella cheese 200g: cubes creates that iconic cheese pull when melted
- Butter 50g: forms the base of the rich garlic coating
- Garlic cloves 3: finely minced adds aromatic flavor without overpowering
- Fresh parsley 2 tbsp: chopped brings color and freshness to balance the richness
- Grated parmesan 50g: creates a savory crust when baked
- Salt and pepper: to taste enhances all other flavors
 Pin it
Step-by-Step Instructions
- Preheat the Oven:
- Turn your oven to 200°C and allow it to fully heat while you prepare the bombs. Proper preheating ensures the perfect crispy exterior while allowing the inside to become molten and gooey.
- Shape the Dough:
- Divide your pizza dough into approximately 20 equal portions weighing about 25g each. Roll each piece between your palms until you have smooth balls with no seams or cracks. The smoothness helps prevent cheese from leaking during baking.
- Fill with Cheese:
- Take each dough ball and gently flatten it into a disc about the size of your palm. Place a cube of mozzarella directly in the center of each disc. Carefully fold the edges of the dough up and around the cheese, pinching firmly to create a tight seal. Roll gently between your palms again to ensure complete closure.
- Prepare the Garlic Butter:
- Melt butter in a small saucepan over low heat to prevent burning. Add the minced garlic and allow it to simmer gently for 2-3 minutes until fragrant but not browned. The slow infusion pulls flavor from the garlic without developing bitterness. Remove from heat and stir in the chopped parsley. Season the mixture with salt and pepper to your taste preference.
- Coat and Assemble:
- Line a baking sheet with parchment paper to prevent sticking. Arrange your stuffed dough balls on the sheet with about an inch of space between each to allow for expansion. Use a pastry brush to generously coat each ball with the garlic butter mixture, ensuring you get some of the garlic bits on each one. Sprinkle the grated parmesan evenly over all the bombs.
- Bake to Perfection:
- Place the baking sheet in the middle rack of your preheated oven and bake for 15-20 minutes. Watch for a deep golden brown color and slight puffing of the dough. The cheese inside should be completely melted but contained within the dough shell.
- Serve and Enjoy:
- Allow the bombs to cool for 3-5 minutes before serving to prevent mouth burns from the molten cheese. Serve them while still warm for the best cheese-pull experience. These are delicious on their own or paired with marinara sauce for dipping.
The garlic butter is truly the secret weapon in this recipe. I once accidentally doubled the garlic amount, and my family unanimously agreed it was even better. That happy accident has become our standard version, proving sometimes kitchen mistakes lead to the best discoveries.
Make-Ahead Options
These garlic bombs can be completely assembled and then refrigerated for up to 24 hours before baking. Simply cover them with plastic wrap on the baking sheet. When ready to bake, remove directly from refrigerator to oven, adding about 3-5 minutes to the baking time. You can also freeze the assembled uncooked bombs for up to a month. Freeze them individually on a tray, then transfer to a freezer bag once solid. Bake from frozen, adding 7-10 minutes to the cooking time.
Creative Variations
The basic recipe creates a classic flavor profile, but countless variations exist. Try adding a teaspoon of Italian seasoning to the garlic butter for an herby twist. For meat lovers, tuck a small piece of pepperoni in with the cheese. Sweet versions work surprisingly well too. Replace the garlic butter with cinnamon sugar and use cream cheese instead of mozzarella for a dessert version that will amaze your guests.
 Pin it
Serving Suggestions
While these bombs make an excellent standalone appetizer, they truly shine as part of a larger spread. Pair them with a fresh arugula salad dressed with lemon and olive oil to cut through the richness. They also complement tomato-based pasta dishes beautifully as a side. For an impressive party presentation, arrange them in a circle around a small bowl of warm marinara sauce in the center of a wooden board.
Frequently Asked Questions
- → Can I use store-bought pizza dough?
Yes, store-bought pizza dough works perfectly for these garlic bombs. If you prefer, homemade dough also enhances the flavor.
- → What other cheeses can I use?
You can swap mozzarella for cheddar, gouda, or provolone. Experimenting with different cheeses adds new flavor profiles!
- → Can these be made ahead of time?
Yes, shape and assemble the bombs in advance, then refrigerate. Bake them fresh when ready to serve!
- → How do I prevent the cheese from leaking out?
Ensure the dough is sealed tightly around the mozzarella and pinch the edges firmly to avoid any gaps.
- → What dipping sauces pair well?
Fresh tomato sauce, ranch, or a vibrant pesto make excellent dipping options for these garlic bombs.
- → Can I make a gluten-free version?
Absolutely! Use gluten-free pizza dough and follow the same steps for a gluten-free treat.