
 Pin it
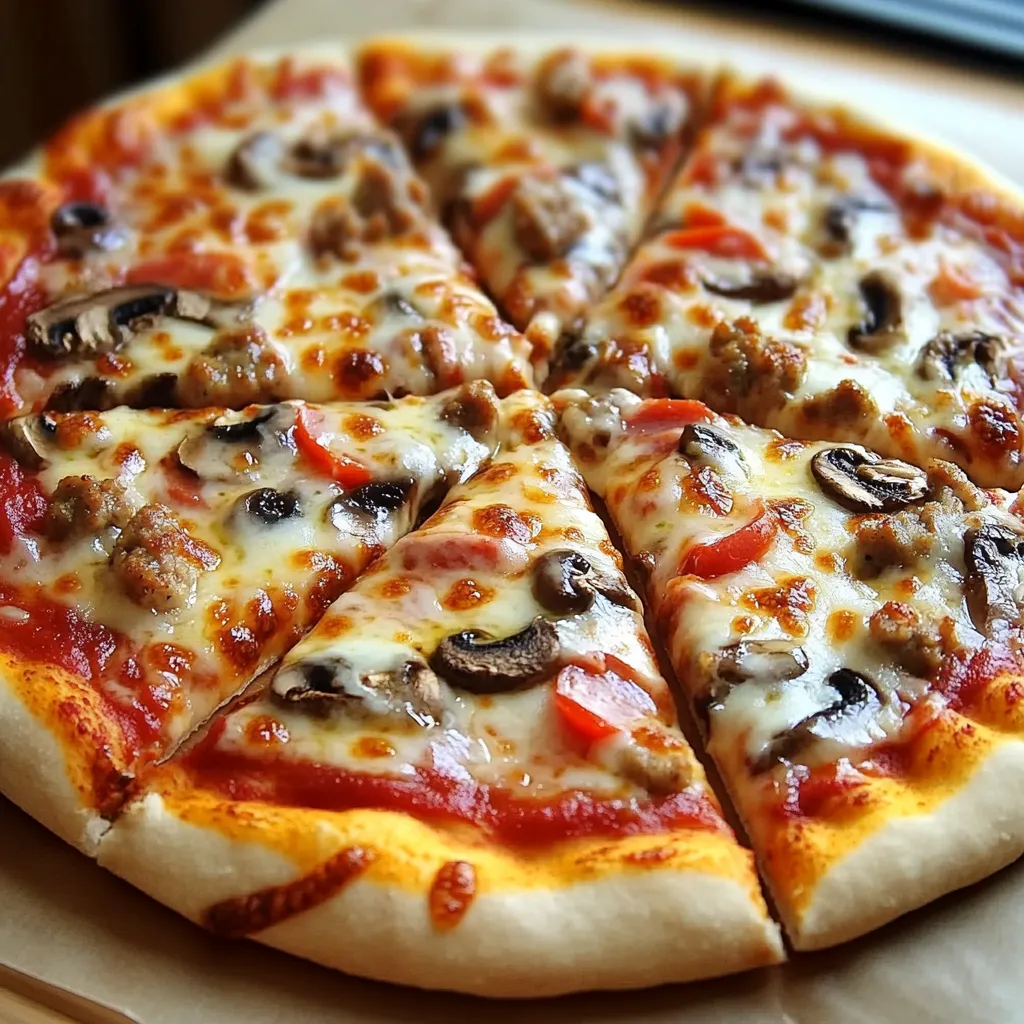
This homemade pizza transforms your kitchen into the neighborhood's favorite pizzeria with just a few simple ingredients and some patience. The dough develops a perfect chewy-crisp texture that store-bought versions can't match, while allowing you complete creative control over toppings.
I started making this recipe during the pandemic when restaurant dining wasn't possible, and it quickly became our Friday night tradition. My children now request "pizza lab" weekly, where everyone gets to experiment with their section of toppings.
Ingredients
- For the Dough:
- All-purpose flour: Provides the structure. Use unbleached for best flavor
- Sugar: Feeds the yeast and helps with browning
- Salt: Enhances flavor and controls yeast activity
- Active dry yeast: Creates the rise. Check expiration date for best results
- Warm water: Activates the yeast. Aim for 105°F to 115°F
- Oil: Adds tenderness to the crust and prevents sticking
 Pin it
- For the Toppings:
- Pizza sauce: Gives the classic tomato base. Homemade or quality jarred both work well
- Shredded mozzarella cheese: Creates that perfect melt and stretch. Fresh or low-moisture work
- Toppings of choice: Offer endless creativity. Precook meat and vegetables with high water content
Step-by-Step Instructions
- Activate the Yeast:
- Combine warm water around 110°F with sugar and yeast in a large bowl. Let it rest undisturbed for 5 minutes until foamy and fragrant. This proves your yeast is alive and ready to work. If no foam appears, your yeast might be dead and needs replacement.
- Form the Dough:
- Add flour, salt, and oil to the activated yeast mixture. Mix thoroughly until a shaggy dough forms. The dough should pull away from the sides of the bowl but still feel slightly tacky. Add flour a tablespoon at a time if too sticky, or a few drops of water if too dry.
- Develop the Gluten:
- Knead the dough on a lightly floured surface for 10 full minutes. This develops the gluten network essential for chewy texture. The dough will transform from rough to smooth and springy. When poked, it should slowly bounce back.
- First Rise:
- Place the kneaded dough in a bowl brushed with oil. Cover with a damp cloth or plastic wrap and let rise in a warm spot for about an hour. Look for the dough to double in size. This slow fermentation develops flavor compounds impossible to achieve with shortcuts.
- Shape the Pizza:
- After rising, gently punch down the dough to release air bubbles. On a floured surface, roll or stretch to your desired thickness. For an authentic experience, stretch by hand starting from the center and working outward, leaving a slightly thicker edge for the crust.
- Add Toppings:
- Spread sauce in a thin, even layer leaving a half-inch border. Add cheese and selected toppings, remembering that less is more. Too many toppings or too much sauce will create a soggy center.
- Bake to Perfection:
- Slide the pizza onto a preheated stone or baking sheet in a 475°F oven. Bake 10-12 minutes until the crust turns golden brown and cheese bubbles. Rotate halfway through if your oven has hot spots.
The secret ingredient that makes this pizza special is patience. When I first started making homemade pizza, I rushed the process and ended up with tough, flavorless crusts. Once I learned to give the dough proper time to develop, the difference was remarkable. My Italian grandmother would be proud.
The Perfect Pizza Dough Texture
Achieving the right dough consistency takes practice but makes all the difference. Look for dough that feels like an earlobe when touched. Too wet and it sticks everywhere, too dry and it becomes dense and crackerlike. Remember that flour absorption varies based on humidity and brand. Trust your hands more than exact measurements.
Make-Ahead Options
This dough actually improves with time. After kneading, you can refrigerate it for up to three days in an airtight container. The slow, cold fermentation develops complex flavors similar to professional pizzerias. Just bring to room temperature for 30 minutes before shaping. You can also freeze the dough after the first rise. Divide into individual portions, wrap tightly, and freeze for up to three months.
Topping Combinations Worth Trying
While classic pepperoni never disappoints, exploring creative combinations elevates homemade pizza night. Try caramelized onions with goat cheese and thyme. For meat lovers, combine crumbled sausage with thinly sliced fennel. Vegetarian options shine with roasted garlic, spinach, and ricotta. Remember that less is more when it comes to toppings, as overloading leads to soggy centers.
 Pin it
Serving and Reheating
Allow the pizza to rest for five minutes before slicing to let the cheese set slightly. Use a pizza wheel or sharp chef's knife for clean cuts. Leftover pizza reheats beautifully in a skillet over medium heat with a lid to trap steam and remelt the cheese without making the crust soggy. Avoid microwaving, which ruins the texture of the crust.
Frequently Asked Questions
- → How do I make the pizza crust soft and fluffy?
To make a soft and fluffy crust, be sure to let the dough rise adequately in a warm environment until it doubles in size. Kneading the dough for 10 minutes also helps develop gluten, giving it elasticity and softness.
- → Can I use different types of cheese?
Yes, you can use any cheese you prefer. While mozzarella is classic, Parmesan, cheddar, provolone, or a blend of cheeses works well for variety and flavor.
- → What are some topping suggestions?
Popular toppings include pepperoni, mushrooms, bell peppers, onions, olives, sausage, fresh basil, or even pineapple. Mix and match your favorites for a personalized pizza.
- → How do I ensure the crust is crispy on the bottom?
Preheating a pizza stone or baking sheet before placing the dough on it helps create a crisp bottom. Also, rolling the dough thinner can contribute to a crispier texture.
- → Can I prepare the dough in advance?
Yes, you can prepare the dough ahead. After the initial rise, store it in an airtight container in the refrigerator for up to 24 hours. Let it come to room temperature before rolling.