 Pin it
This Recipe Is Pure Kitchen Joy
There's something special about recipes that don't demand fancy ingredients or hours in the kitchen. This one-pan wonder has become my go-to when life gets busy but I still want to put something delicious on the table. The crispy coating soaks up that velvety gravy perfectly and my kids always ask for seconds. I serve it over rice or potatoes depending on what's in my pantry.Ingredients for Chicken
- Chicken Breasts: Boneless, skinless chicken breasts, tenderized for even cooking and a juicy texture.
- Bacon: Crispy, chopped bacon used for garnish, with the grease reserved for flavor in the cooking process.
- Egg: Helps the breadcrumb coating stick, ensuring a crispy exterior.
- Buttermilk: Adds a tangy flavor to the coating, substitutable with regular milk.
- All-Purpose Flour: Used in both the chicken coating and as a gravy thickener.
- Breadcrumbs: Seasoned or plain, for a flavorful and crispy crust.
- Italian Seasoning: A blend of oregano and basil adds herby notes.
- Garlic Powder: A mild garlic flavor enhances the coating.
- Salt and Pepper: Kosher salt and black pepper for seasoning.
- Vegetable Oil: Used to fry the chicken to golden perfection.
 Pin it
Let's Get Cooking
- Pound the Chicken
- Place chicken breasts between plastic wrap and pound evenly to tenderize. Set up dredging stations with breadcrumb and egg mixtures.
- Cook the Bacon
- Fry bacon in a skillet over medium heat. Reserve ¼ cup of the bacon grease for later use.
- Dredge the Chicken
- Coat chicken in breadcrumbs, then dip in egg wash, and coat again with breadcrumbs for a double-layer crust.
- Fry the Chicken
- Cook in a skillet with bacon grease and oil until golden brown and fully cooked. Internal temperature should reach 165°F (74°C).
- Make the Gravy
- Saute shallot and garlic in butter. Add flour to make a roux, then whisk in chicken stock and half-and-half. Season with Worcestershire sauce, salt, and pepper.
- Combine
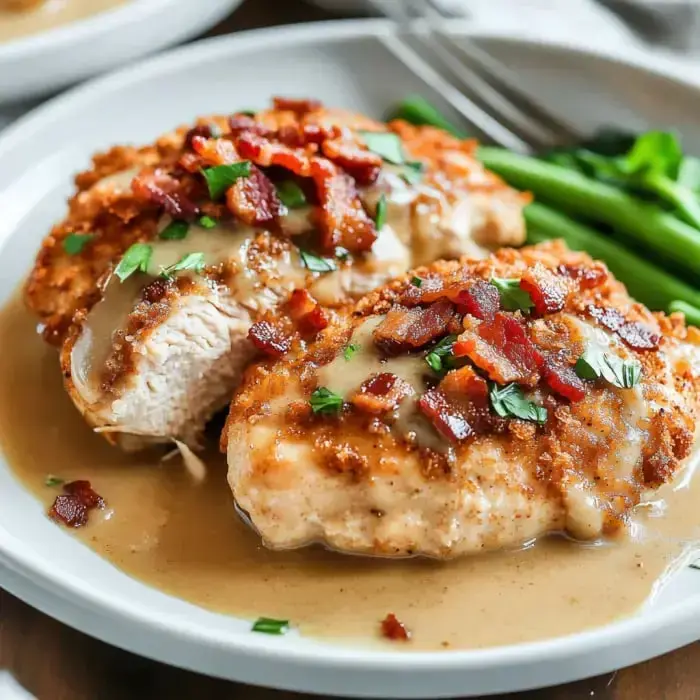
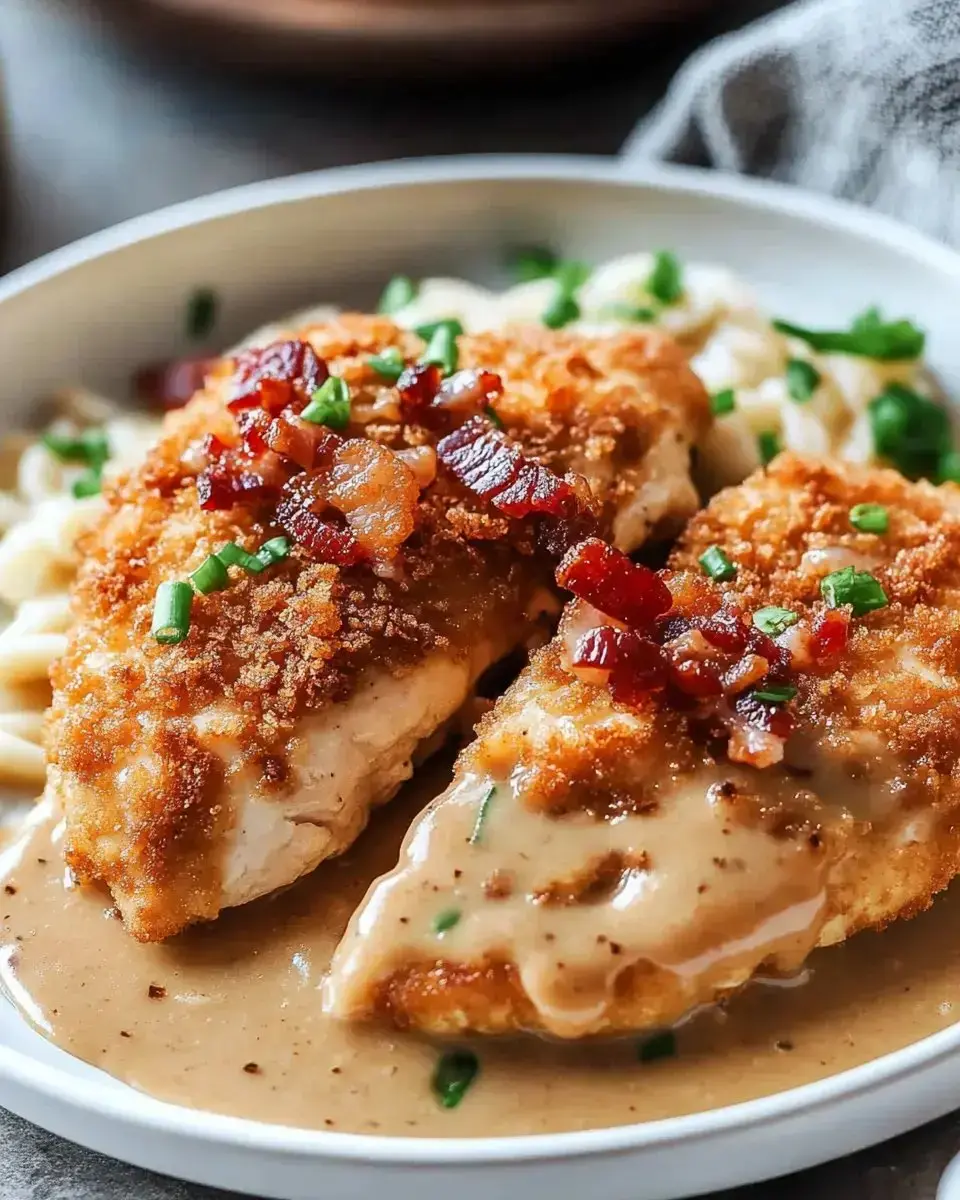
- Return chicken to skillet, coat in gravy, and garnish with parsley and bacon. Serve immediately.
My Kitchen Secrets
I learned the hard way that pounding chicken makes such a difference in how it cooks. Trust me grab your meat mallet and give those breasts a good pounding. My trusty meat thermometer never lies so I always check for that 165°F sweet spot. When making gravy cook that flour until it smells nutty. For my gluten sensitive friends I use my favorite gluten free flour blend and it works beautifully.What to Serve With It
My family loves this chicken over a big scoop of fluffy white rice but it's honestly incredible with my creamy mashed potatoes too. Looking for veggie sides? My corn soufflé is always a hit or try those garlic honey roasted sweet potatoes I posted last week. Both add the perfect balance to this cozy meal.Frequently Asked Questions
- → How do I know when the chicken is cooked through?
The chicken should be golden brown on both sides and cook for about 3-4 minutes per side. Cut into the thickest part - the meat should be white throughout with no pink areas.
- → Can I make this recipe ahead of time?
While best served fresh, you can make the gravy ahead of time and reheat it gently. Cook the chicken just before serving to keep the coating crispy.
- → What sides go well with smothered chicken?
Mashed potatoes are perfect for soaking up the gravy. Green vegetables like broccoli or green beans also pair nicely with this rich dish.
- → Can I use chicken thighs instead of breasts?
Yes, chicken thighs work great in this recipe. They may need a few extra minutes of cooking time since dark meat takes longer to cook through completely.
- → Why does my gravy get lumpy?
Lumpy gravy usually happens when flour isn't whisked in properly. Make sure to whisk continuously when adding flour and liquids. The butter should be hot when adding flour to help it blend smoothly.
