
 Pin it
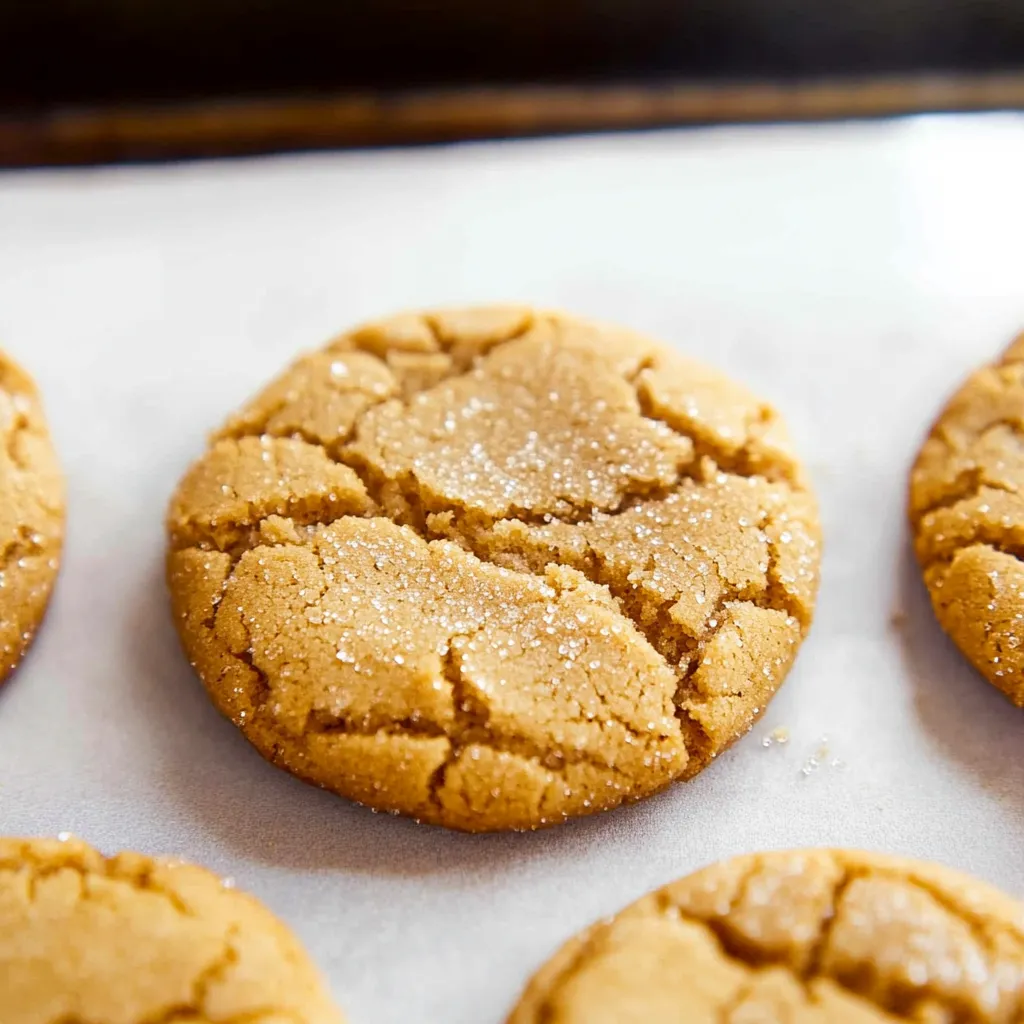
These soft, chewy brown sugar cookies have a caramel-like flavor and beautiful cracked tops. Their buttery goodness offers a tasty upgrade from regular sugar cookies with a richer taste that doesn't need any toppings to shine.
I make these cookies whenever unexpected guests show up or when I need a sweet treat without hours in the kitchen. The amazing buttery aroma that fills my home while they bake makes the whole process almost as enjoyable as eating them.
Key Cookie Elements
- Unsalted butter: Pick a premium brand with at least 82% fat content for the best results. Let it warm up for 30 minutes to soften naturally. You'll brown half for flavor while keeping the other half for structure.
- Brown sugar: Adds moisture and chewiness from its molasses content. Light brown delivers subtle sweetness while dark brown brings stronger flavor notes. Either works well based on your preference.
- Large egg plus one more yolk: Creates the perfect balance of structure and richness. That extra yolk boosts the chewy factor and helps create that melt-in-your-mouth texture.
- Pure vanilla extract: Enhances all the cozy flavors. Try to use genuine vanilla without artificial additives. Madagascar bourbon vanilla works wonderfully with brown sugar notes.
- All purpose flour: Provides structure while keeping cookies tender. Unbleached flour contains more protein that helps maintain cookie shape and creates the right chewiness.
- Baking soda: Interacts with brown sugar's acidity to make cookies rise then fall, creating those lovely cracks we want.
- Fine sea salt: Balances sweetness and brightens every flavor. Never skip this as it transforms simple sweetness into something much more complex.
Baking Method
- Preparing The Butter:
- Melt half the butter in a light-colored skillet over medium heat. Watch it closely as it melts, foams, and turns golden with a nutty aroma. Transfer it immediately to a bowl (including all those flavorful brown bits) and let it cool slightly before continuing.
- Creating Your Dough:
- Combine your partially cooled brown butter, remaining soft butter, and brown sugar in a large bowl. Mix with an electric mixer until light and fluffy, around 2-3 minutes. Add your egg, extra yolk, and vanilla, then beat another minute until well combined.
- Adding Dry Ingredients:
- Mix in your flour, salt, and baking soda to the wet ingredients. Stir gently and scrape down the bowl for even mixing. Your dough should be soft but cohesive. Refrigerate the bowl for at least 30 minutes.
- Shaping And Baking:
- Warm your oven to 350°F and place parchment on baking sheets. Use a scoop for uniform dough balls, placing them at least 2 inches apart since they spread considerably. Bake for about 10 minutes until the edges are golden but middles remain soft.
- Cooling Process:
- Keep cookies on the hot baking sheet for 3-5 minutes after removing from the oven. They'll continue setting during this time and might break if moved too early. After this brief rest, transfer them carefully to a cooling rack.
 Pin it
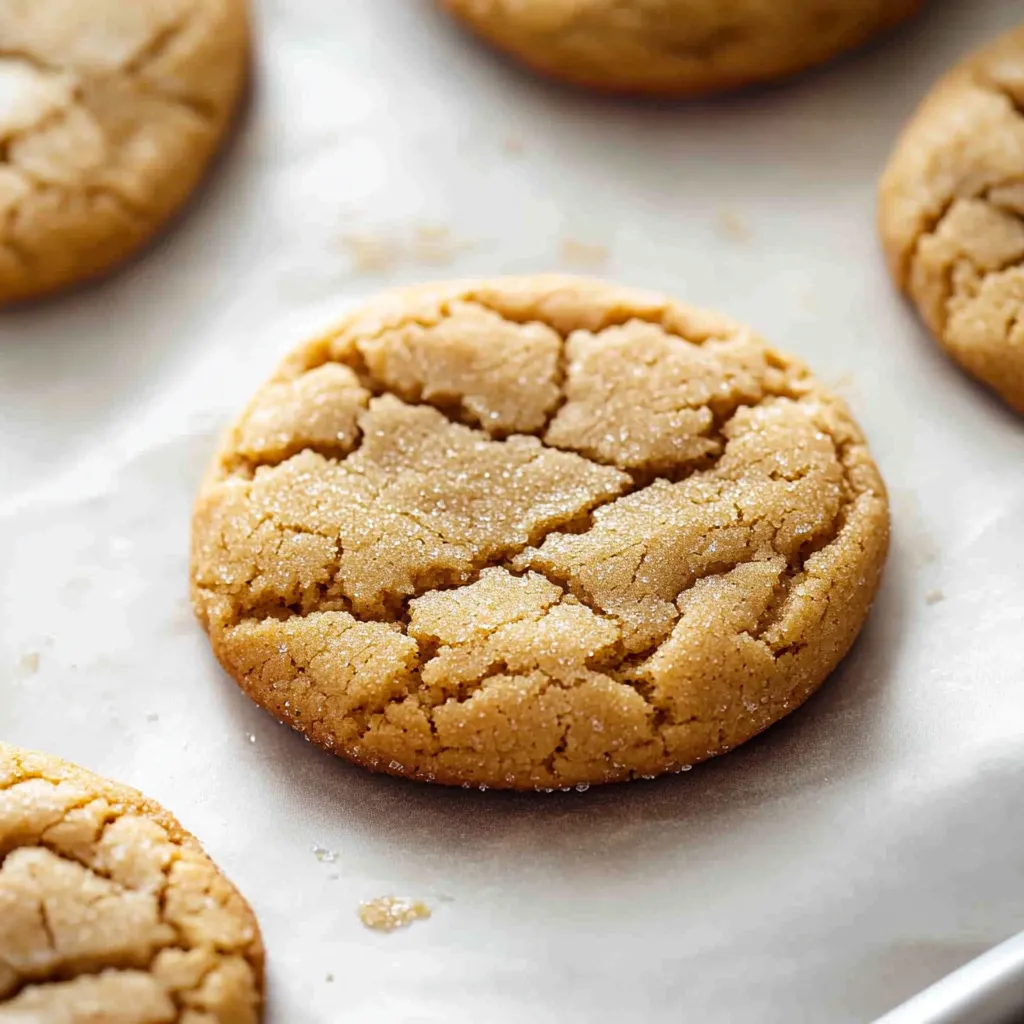
My whole family can't get enough of the deep sweetness in these cookies. Even my dessert-avoiding sister asks for them when she visits because they're not just sweet but layered with flavor. The brown butter adds a sophisticated touch that wins over even fussy eaters.
Amazing Flavor Enhancers
The brown butter step transforms these from regular cookies into something special. When you heat butter until its milk solids turn brown, you get incredible toffee notes in every bite. This five-minute trick gives you massive flavor benefits for very little effort.
Perfect Texture Tips
Timing matters for ideal texture. You want to slightly undercook them so they stay tender in the center but crisp at the edges. Look for golden borders with middles that seem a bit underdone when you take them out.
Batch Size Considerations
Consider how many cookies you actually want. This dough stores perfectly in the freezer, so you can bake only what you need. Form the dough into balls, freeze them on a sheet until solid, then transfer to freezer bags for up to three months. You can bake them directly from frozen, just add a minute or two to the baking time.
Delicious Variations
Using light or dark brown sugar creates noticeably different results. Light brown gives a milder, classic cookie while dark brown makes intense treats with stronger molasses flavor. Try using a mix of both for something in between.
Storage Solutions
After they've completely cooled, store your cookies in airtight containers at room temperature. Place parchment between layers to prevent sticking. They'll maintain their chewiness for about five days, though they rarely last that long in most houses.
Freezer Options
These cookies freeze wonderfully as dough or after baking. Baked cookies stay fresh in the freezer up to three months when wrapped properly. Let them thaw at room temperature while still wrapped so moisture doesn't make them soggy.
 Pin it
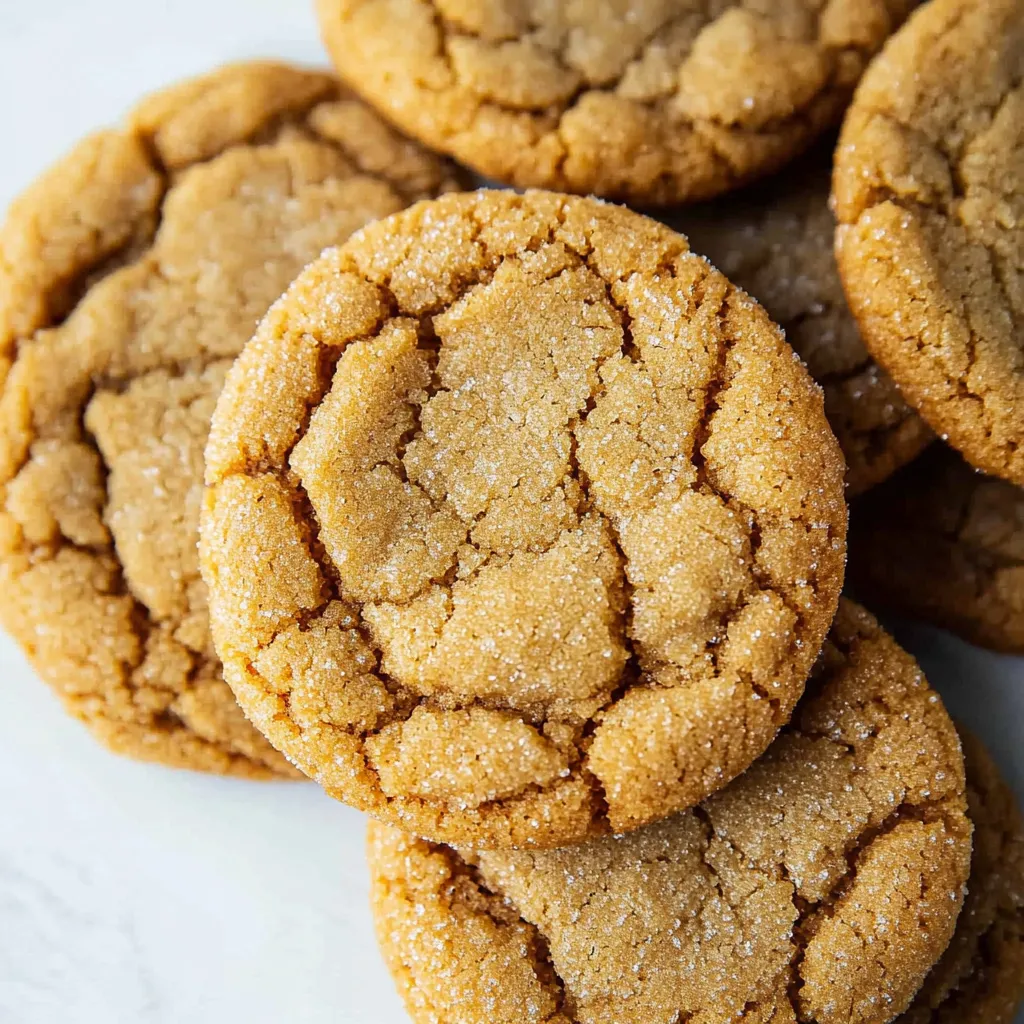
These brown sugar cookies represent comfort baking at its finest. They might look straightforward, but they deliver complex flavors that impress everyone. When I serve these with coffee after dinner, the table goes quiet for a moment as everyone enjoys that first amazing bite. Sometimes the simplest recipes turn out to be the most unforgettable.
Frequently Asked Questions
- → How are dark and light brown sugars different?
- Dark brown sugar has extra molasses, giving a bolder caramel flavor. Light brown sugar’s taste is milder. Mixing the two can create balance.
- → How do I know the butter’s browned just right?
- The butter turns a golden shade and starts smelling toasted. Once melted, this usually takes 3-5 minutes longer.
- → Can I freeze the cookie dough?
- Of course! Roll into balls, freeze on a tray first, and then stash them in a freezer bag for up to three months.
- → Why are my cookies too flat?
- Warm butter, too little flour, or skipping the chill step can cause that. Add more flour and let your dough chill longer.
- → What’s the best way to keep these cookies fresh?
- Store them in an airtight container at room temperature for up to 5 days. You can also freeze them for up to three months.