
 Pin it
A perfect Sourdough Discard Biscuit transforms leftover starter into flaky, buttery layers with just the right hint of tang. These biscuits prove that kitchen frugality can create something truly spectacular, turning what might have been waste into a cherished family favorite.
During my sourdough journey, I discovered that keeping the ingredients extra cold and folding the dough like a letter created biscuits with an almost croissant-like flakiness.
Essential Ingredients & Selection Tips
- Sourdough Discard: Use straight from refrigerator for best results
- Butter: European-style contains more fat for flakier layers
- Buttermilk: Full-fat provides tenderness and tang
- All-Purpose Flour: Lower protein content ensures tenderness
- Sea Salt: Fine grain distributes more evenly
Detailed Baking Instructions
- Step 1: Perfect Your Setup
- Chill bowl and utensils beforehand. Keep butter in freezer until needed. Line baking sheet with parchment. Position oven rack in center.
- Step 2: Master the Mixture
- Cut butter into tiny, consistent pieces. Work quickly to keep everything cold. Mix just until ingredients are combined. Look for shaggy dough texture.
- Step 3: Create Your Layers
- Roll gently with light pressure. Fold edges precisely for even layers. Rotate dough 90 degrees each time. Maintain rectangular shape.
- Step 4: Shape with Care
- Cut straight down without twisting. Place biscuits close together. Brush tops with butter if desired. Chill before baking.
- Step 5: Achieve Perfect Bake
- Start in hot oven for initial rise. Watch for golden brown color. Look for visible layers. Cool slightly before serving.
My grandmother taught me that the secret to perfect biscuits isn't just in the recipe - it's in treating the dough with gentle respect while working quickly to keep everything cold.
The Cold Factor
Keeping ingredients and tools chilled ensures the butter stays solid until it hits the hot oven, creating steam pockets for flaky layers.
 Pin it
The Folding Method
Each fold creates distinct layers that puff up during baking, resulting in a biscuit that pulls apart beautifully.
Through countless batches of these biscuits, I've learned that patience and attention to temperature create the perfect vehicle for butter, honey, or gravy - whatever your heart desires.
Frequently Asked Questions
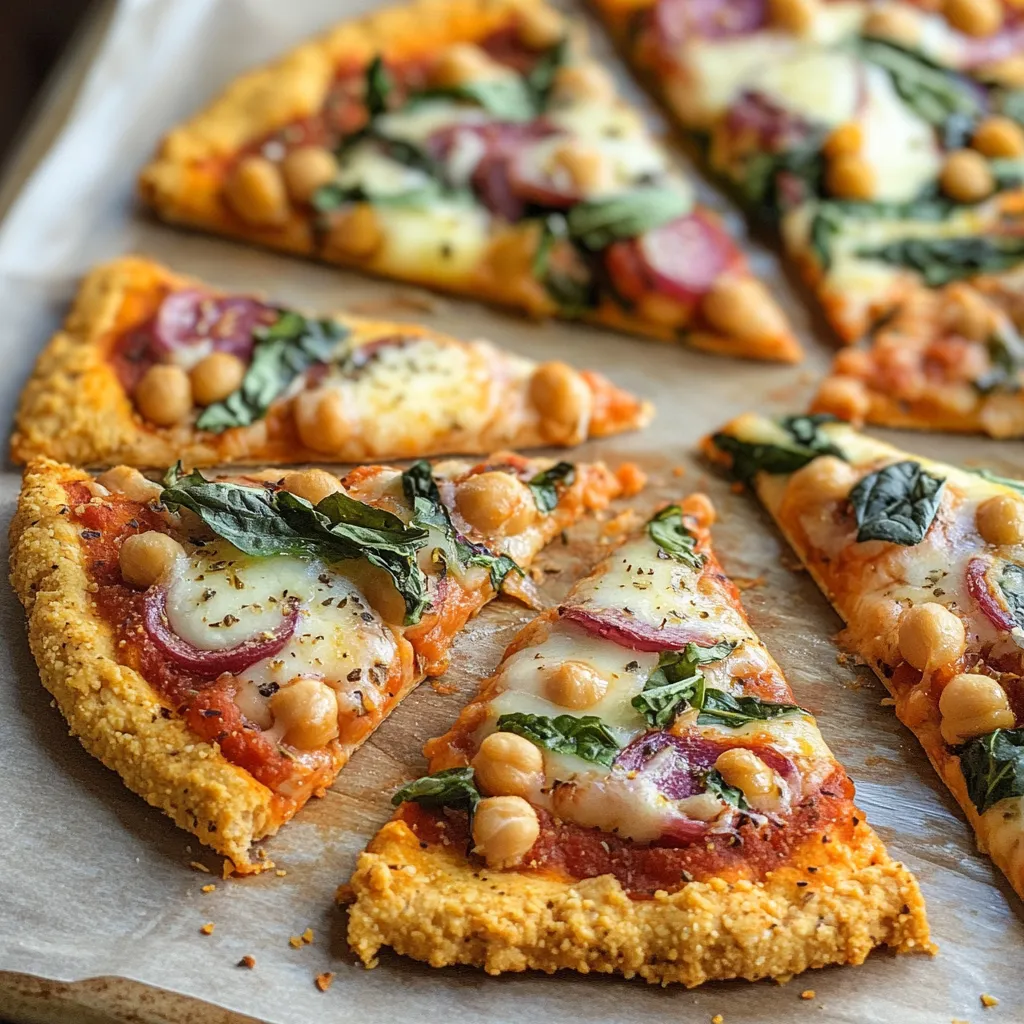
- → Can I use dried chickpeas instead of canned?
- Yes, but they must be cooked until very soft first. One can of chickpeas equals about 1.5 cups cooked chickpeas.
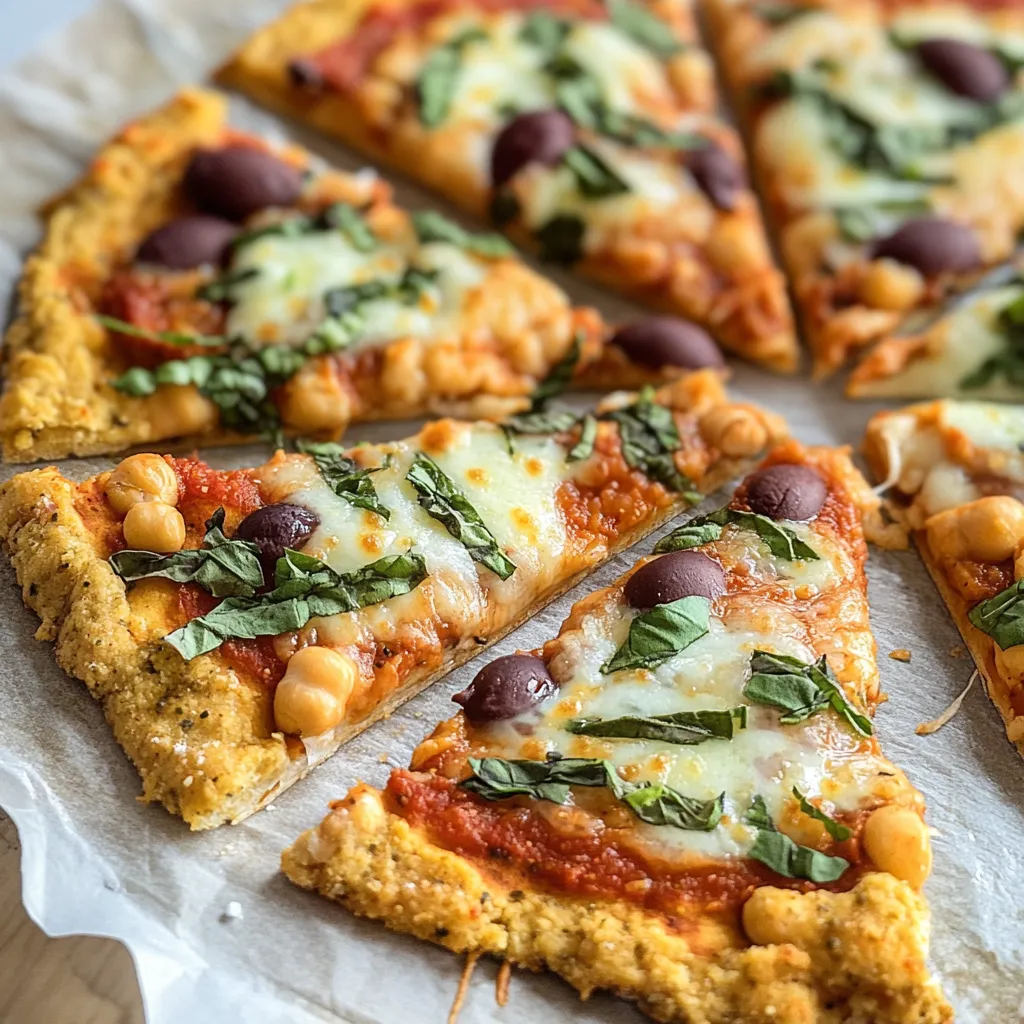
- → What can I substitute for chickpea flour?
- You can use other gluten-free flours like almond or oat flour, though chickpea flour provides the best texture and flavor match.
- → Why flip the crust during baking?
- Flipping ensures even cooking and helps create a crispier crust on both sides, preventing sogginess when toppings are added.
- → Can I freeze this pizza crust?
- Yes! Bake the crust completely (before adding toppings), let cool, then wrap well and freeze for up to 3 months. Thaw and add toppings before final baking.
- → Is this crust sturdy enough to hold toppings?
- Yes, the double-baking process creates a sturdy base that can hold various toppings. Just avoid overloading it like you would with any pizza crust.