 Pin it
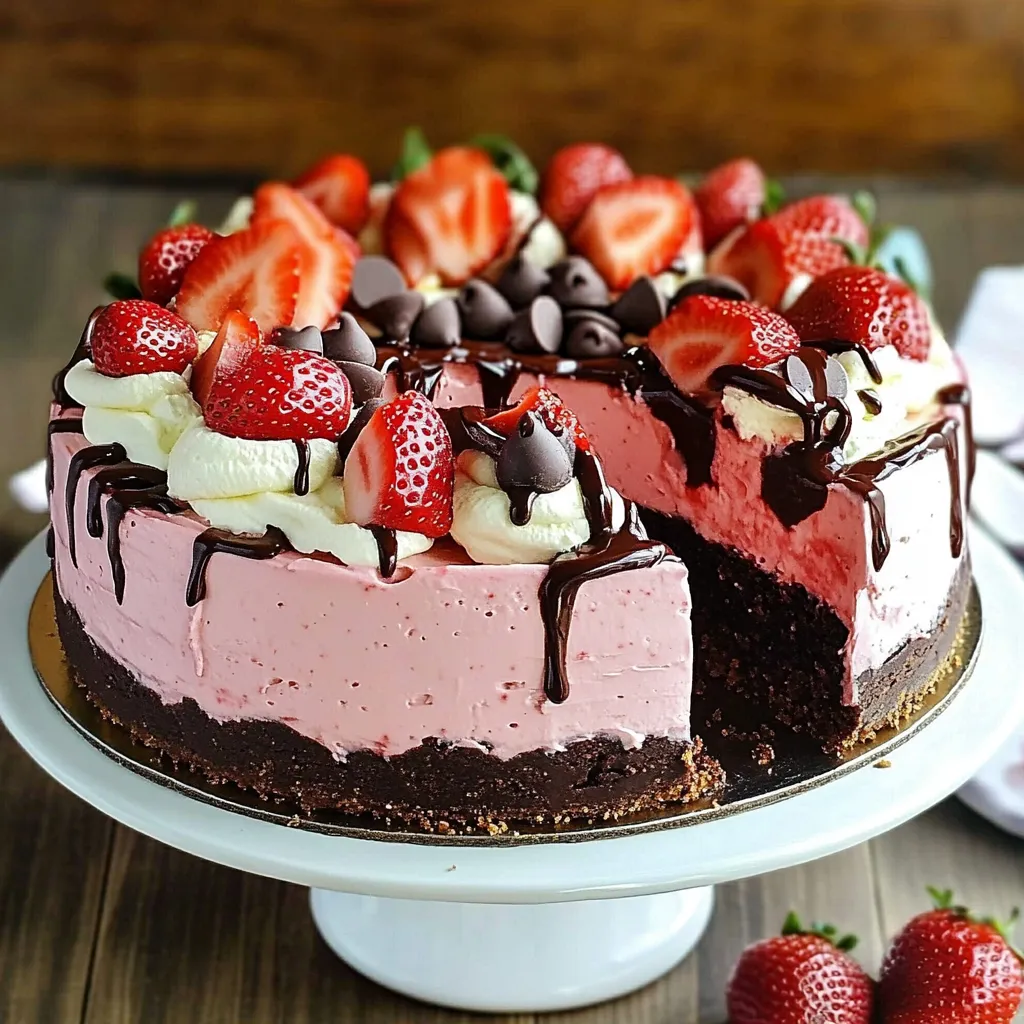
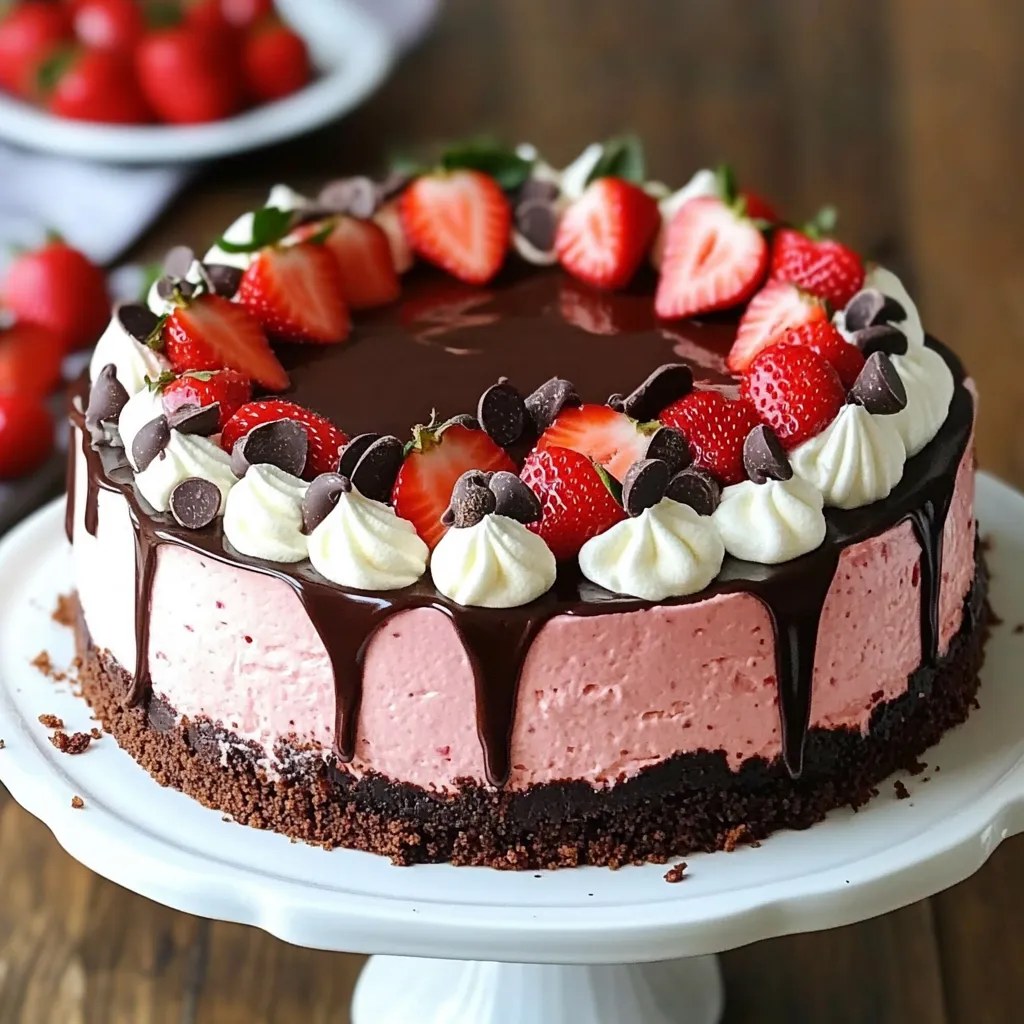
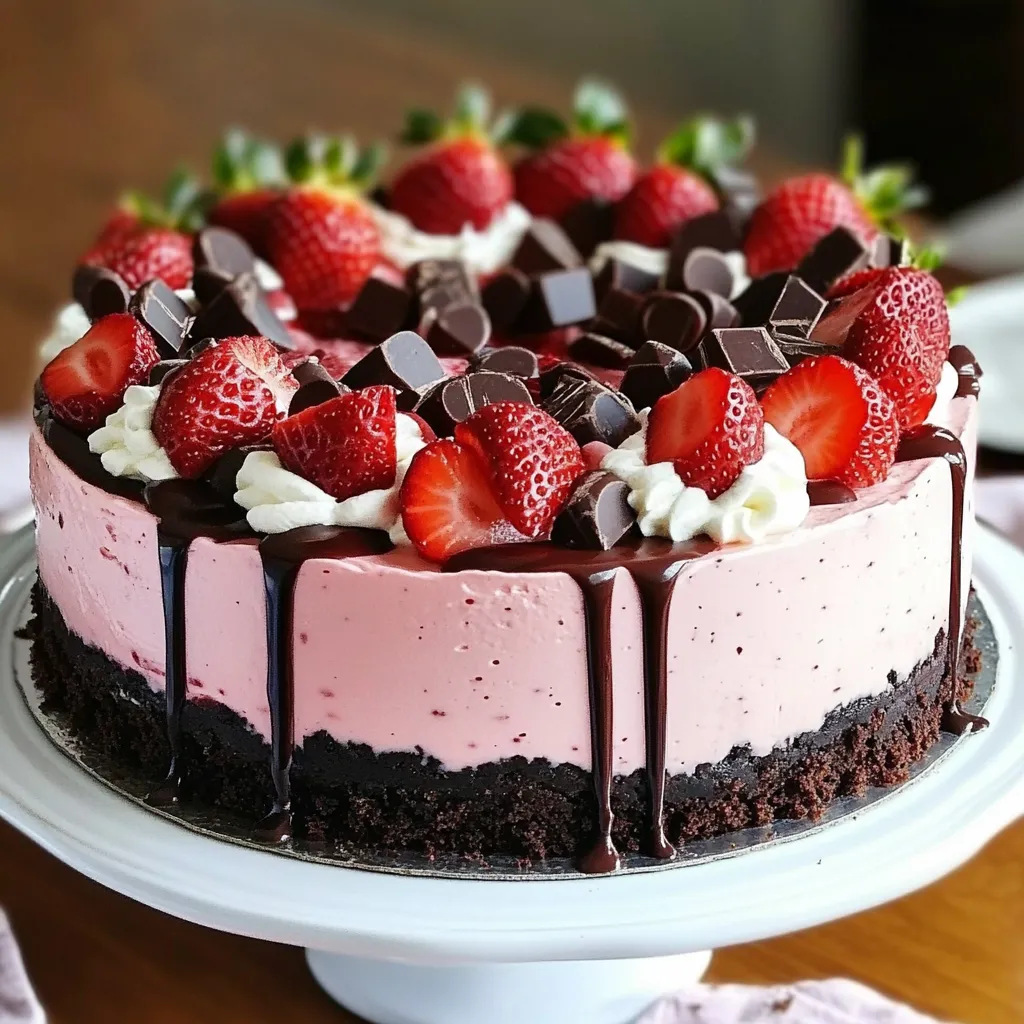
This chocolate covered strawberry cheesecake layer cake combines my favorite dessert elements into one show-stopping creation. The rich, creamy cheesecake, sweet chocolate, and fresh strawberries create a dessert that never fails to impress guests at special occasions.
I first created this recipe for my daughter's 16th birthday party last spring. The cake disappeared within minutes, and now it has become our most requested celebration dessert for good reason.
Ingredients
- Graham cracker crumbs: Create the perfect crunchy foundation. Look for whole graham crackers and pulse in a food processor for the freshest flavor.
- Sugar: Balances the tanginess of the cream cheese. Use regular granulated for consistent results.
- Unsalted butter: Binds the crust together. Always use unsalted to control the overall saltiness.
- Cream cheese: The star ingredient for that signature cheesecake texture. Philadelphia brand offers the most reliable results.
- Vanilla extract: Enhances all the flavors. Pure vanilla extract provides deeper flavor than imitation.
- Eggs: Provide structure and richness. Room temperature eggs incorporate more smoothly.
- Sour cream: Adds moisture and tang. Full fat creates the best texture and flavor profile.
- Fresh strawberries: Bring natural sweetness and color. Choose bright red berries with no white shoulders for best flavor.
- Heavy cream: Creates billowy chocolate topping. Look for cream with at least 36% fat content.
- Chocolate chips: Transform into silky ganache. Semisweet offers the perfect balance with the strawberries.
Step-by-Step Instructions
- Prepare the Crust:
- Combine graham cracker crumbs, sugar, and melted butter until the mixture resembles wet sand. Press firmly into springform pan using the bottom of a measuring cup to create an even, compact layer. A well packed crust prevents crumbling when slicing.
- Create the Cheesecake Batter:
- Beat cream cheese, sugar and vanilla until completely smooth with no lumps whatsoever. This takes about 3 minutes on medium speed. Scrape down the sides of your bowl frequently to ensure everything incorporates evenly. Add eggs one at a time, mixing on low speed just until each disappears into the batter.
- Add the Strawberry Flavor:
- Fold in sour cream and pureed strawberries with a gentle hand using a silicone spatula. The strawberry puree should create beautiful pink streaks throughout the batter. Overmixing at this stage can add too much air and cause cracks.
- Bake to Perfection:
- Pour batter over the prepared crust and bake at 325°F for approximately 60 minutes. The edges should be set but the center should still have a slight jiggle like barely set Jello. A fully set center means your cheesecake is overbaked.
- Cooling Process:
- Allow the cheesecake to cool gradually to prevent cracks. Leave it in the turned off oven with the door cracked for 30 minutes, then move to a cooling rack for another hour before refrigerating. Patience during this step rewards you with a perfect texture.
- Make Chocolate Whipped Cream:
- Melt chocolate chips gently, being careful not to overheat. Allow to cool until just warm to touch but still completely fluid. Whip heavy cream to soft peaks, then drizzle in melted chocolate while continuing to beat until medium peaks form and mixture is uniform in color.
- Assemble and Garnish:
- Spread chocolate whipped cream over the thoroughly chilled cheesecake in an even layer. Arrange fresh strawberries decoratively on top, then finish with a generous drizzle of melted chocolate. The contrast of the dark chocolate against the red berries creates a stunning visual effect.
 Pin it
The pureed strawberries in the filling are my secret weapon in this recipe. My grandmother taught me this technique years ago, explaining that incorporating the fruit directly into the batter creates a more intense flavor than simply adding sliced berries. Every time I make this cake, I think of her kitchen and how she always said strawberries and chocolate were meant for each other.
The Water Bath Debate
Many cheesecake recipes call for a water bath, but I skip it with this particular recipe. The strawberry puree adds enough moisture to prevent drying, and the slight cracks that might form will be covered by the chocolate whipped cream layer anyway. If you prefer the insurance of a water bath, wrap your springform pan in two layers of heavy duty foil and place in a larger pan with hot water halfway up the sides.
Seasonal Fruit Variations
While strawberries are classic, this recipe adapts beautifully to other seasonal fruits. In summer, try fresh raspberries or blackberries. In fall, cooked and pureed apples with cinnamon create a delicious variation. Winter calls for orange zest and a touch of Grand Marnier for a chocolate orange version. The base recipe remains the same, just adjust the fruit component.
 Pin it
Serving and Storage
This impressive dessert serves best when completely chilled. Use a hot knife (run under hot water and wipe dry) for clean slices. Store leftovers covered in the refrigerator for up to 4 days. Avoid freezing the finished cake as the texture of the whipped cream layer deteriorates, though you can freeze the plain cheesecake layer without toppings for up to 2 months.
Frequently Asked Questions
- → How do I make the graham cracker crust firm?
Press the graham cracker mixture firmly into the bottom of the pan using the back of a spoon or the base of a measuring cup. Ensure it is evenly packed for a sturdy crust.
- → Can I use frozen strawberries instead of fresh?
Yes, you can use frozen strawberries. Thaw them completely and drain any excess liquid before pureeing to avoid adding too much moisture to the cheesecake layer.
- → How can I prevent cracks in the cheesecake layer?
Use room temperature ingredients, avoid overmixing, and bake the cheesecake in a water bath if possible. Cooling the cheesecake gradually also helps prevent cracks.
- → What’s the best way to melt chocolate for the whipped cream?
Melt chocolate in a heat-safe bowl over a double boiler or microwave it in 20-second intervals, stirring in between to avoid overheating.
- → Can I make this dessert ahead of time?
Yes, this dessert is perfect for making ahead. Prepare and refrigerate overnight to let the flavors develop and ensure the layers are set.
