
 Pin it
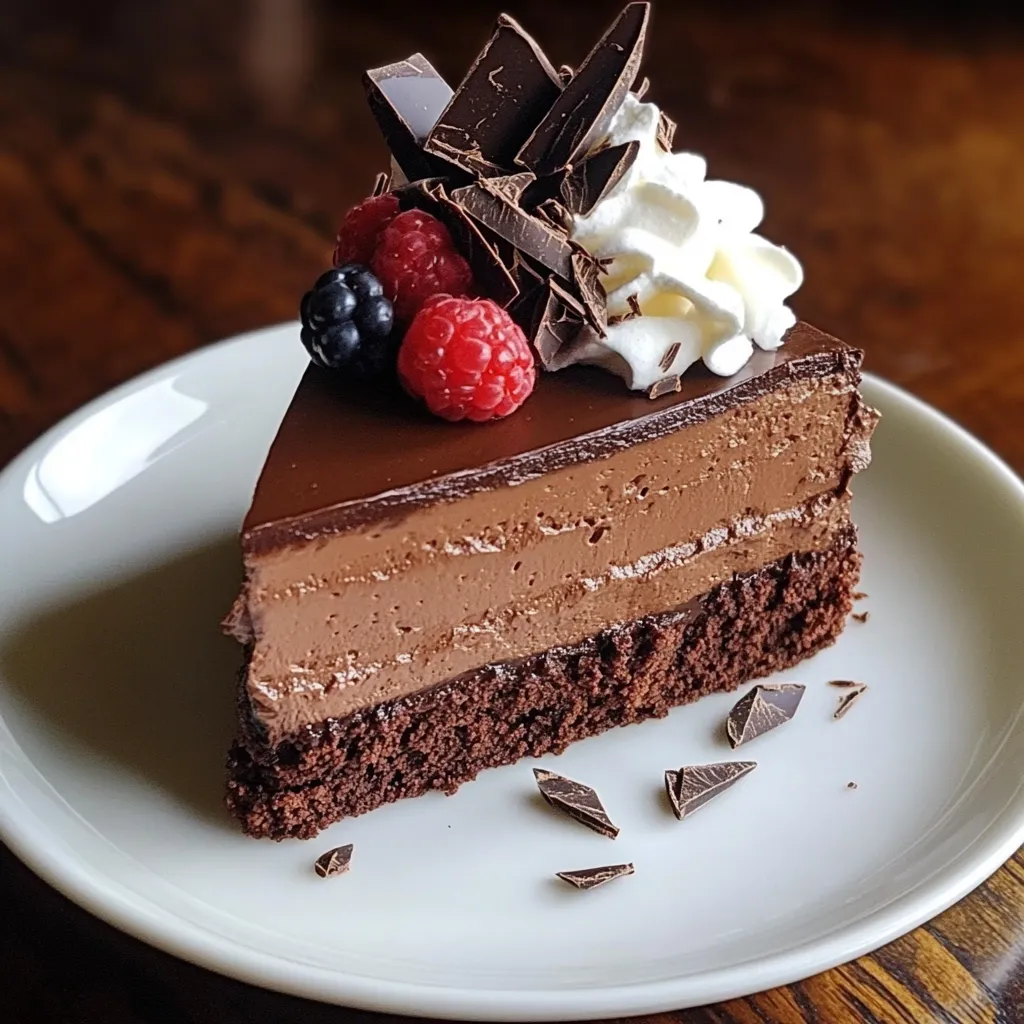
This decadent dark chocolate mousse cake transforms simple ingredients into a luxurious dessert that tastes like it came from a high-end patisserie. The silky texture melts in your mouth while the rich chocolate flavor satisfies even the most discerning sweet tooth.
I first created this mousse cake for my sister's birthday when she requested something chocolate but not too heavy. The look on her face when she took her first bite made this recipe an instant family classic that I now prepare for most special occasions.
Ingredients
- Dark chocolate: with 70% cocoa content creates the perfect balance of sweetness and deep chocolate flavor
- Heavy cream: provides the luxurious silky texture that makes this dessert so special
- Unsalted butter: adds richness and helps create the perfect mouthfeel
- Egg yolks: create structure while adding richness to the base
- Egg whites: whipped to stiff peaks incorporate air that creates the distinctive mousse texture
- Granulated sugar: sweetens the egg yolks while powdered sugar stabilizes the egg whites
- Vanilla extract: enhances the chocolate flavor without overpowering it
- Whipped cream: for topping adds a light cloud-like contrast to the rich chocolate
- Fresh berries: offer a tart brightness that cuts through the richness
- Shaved chocolate: adds visual appeal and intensifies the chocolate experience
 Pin it
Step-by-Step Instructions
- Create Chocolate Base:
- Combine chopped dark chocolate, heavy cream, and butter in a heatproof bowl. Melt together using a double boiler or microwave in 30-second increments, stirring after each until completely smooth. The mixture should be glossy and silky with no chocolate pieces remaining. Allow to cool for about 5 minutes until still fluid but not hot to the touch.
- Prepare Egg Yolk Mixture:
- Beat egg yolks and granulated sugar in a medium bowl for approximately 3 minutes until the mixture becomes pale yellow and thick enough that when you lift the beater, the mixture falls back in ribbons. This creates the structure that will hold your mousse together. Gently mix in the vanilla extract, then fold in the cooled chocolate mixture using a spatula until fully incorporated with no streaks remaining.
- Whip Egg Whites:
- In a completely clean and dry bowl, beat egg whites until they form soft peaks where the tips curl over when the beater is lifted. Gradually add powdered sugar about a tablespoon at a time while continuing to beat until stiff peaks form where the tips stand straight up. The meringue should be glossy and hold its shape firmly when the beater is lifted.
- Combine Mixtures:
- Add about one-fourth of the whipped egg whites to the chocolate mixture and fold gently to lighten the base. Then carefully fold in the remaining egg whites using a cutting and folding motion, maintaining as much air as possible. Continue until fully incorporated with no white streaks, but avoid overmixing which would deflate your mousse.
- Set and Chill:
- Pour the mousse into a springform pan lined with parchment paper. Smooth the top with an offset spatula. Cover with plastic wrap without touching the surface and refrigerate for at least 4 hours, preferably overnight. The patience will be rewarded with the perfect texture.
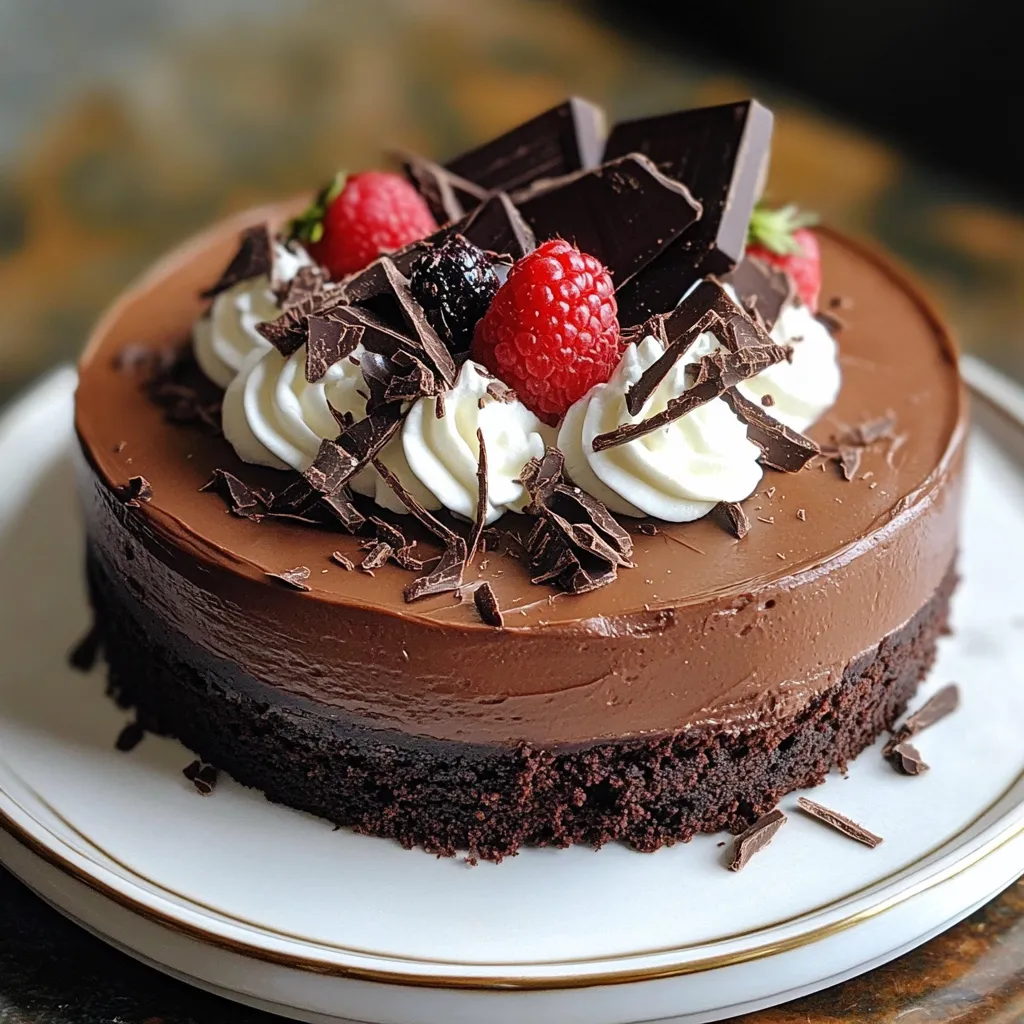
- Garnish and Serve:
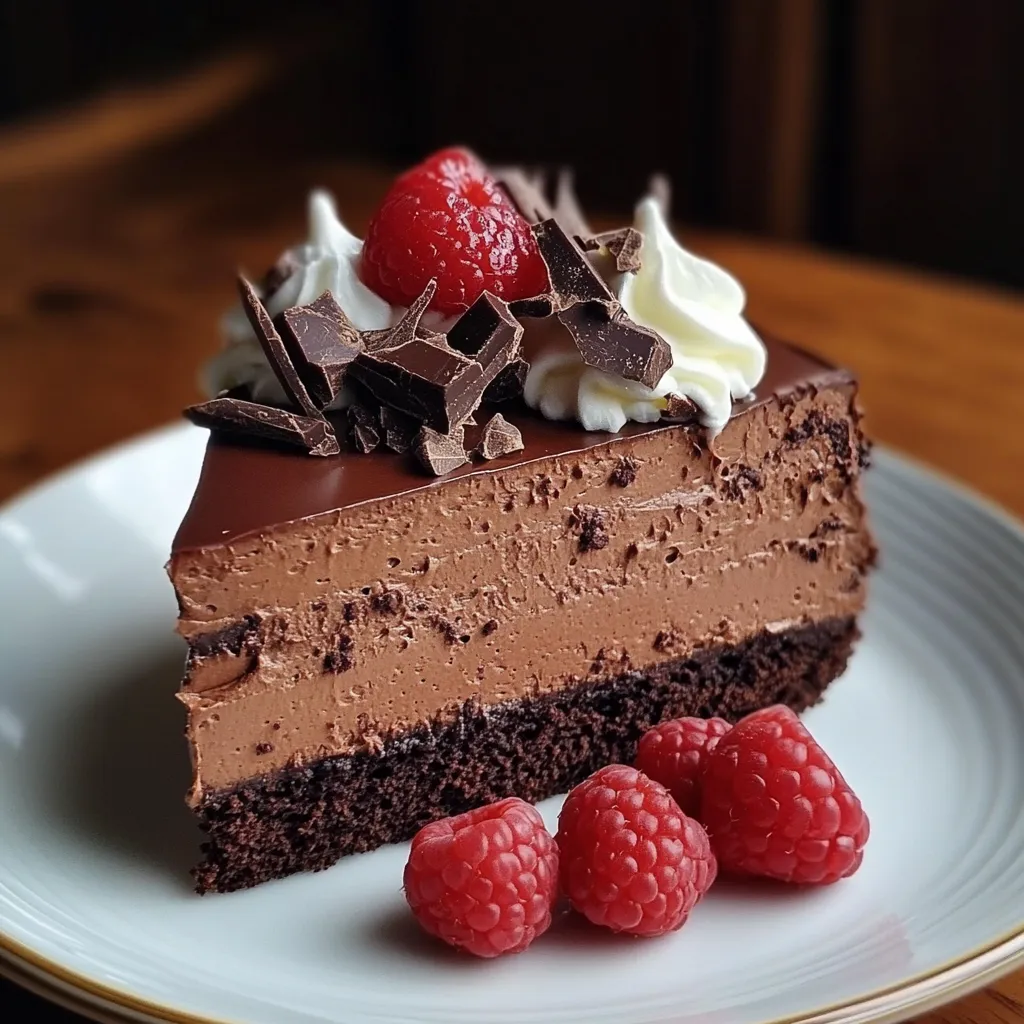
- Just before serving, embellish with freshly whipped cream, arrange fresh berries across the top, and sprinkle with shaved chocolate for an elegant presentation that will impress your guests.
The quality of chocolate dramatically impacts the final result. I once tried making this with baking chocolate instead of eating chocolate and the difference was staggering. Splurge on the best dark chocolate you can afford as it forms the backbone of this entire dessert.
Make-Ahead Magic
This mousse cake actually improves with time as the flavors meld and the texture sets to perfection. You can prepare it up to two days in advance, keeping it covered in the refrigerator. Just wait to add the final toppings until shortly before serving. This makes it ideal for dinner parties when you want to focus on your guests rather than last-minute dessert preparation.
Temperature Tips
Temperature control is crucial when making this mousse cake. The chocolate mixture must cool enough not to cook the egg yolks, but remain fluid enough to blend smoothly. Similarly, egg whites whip best at room temperature, so set them out 30 minutes before beginning. When serving, remove the cake from refrigeration about 15 minutes prior to allow the flavors to bloom as it comes to a slightly cool rather than cold temperature.
Dietary Adaptations
While this traditional recipe features dairy and eggs, various adaptations can accommodate different dietary needs. For a dairy-free version, substitute coconut cream for heavy cream and coconut oil for butter. Those avoiding eggs can use aquafaba as a remarkable substitute for the egg whites, though the texture will be slightly different. Just be aware that these substitutions may alter the setting time and final texture.
 Pin it
Flavor Variations
The basic recipe provides a perfect canvas for creativity. Add a tablespoon of coffee liqueur or espresso powder to enhance the chocolate flavor. Infuse the cream with fresh mint leaves, cinnamon sticks, or orange zest before heating for subtle flavor notes. For a festive touch, incorporate 1/4 teaspoon of peppermint extract during winter holidays or fold in 2 tablespoons of raspberry preserves for a fruity twist.
Frequently Asked Questions
- → Can I use milk chocolate instead of dark chocolate?
Milk chocolate can be used, but it will result in a sweeter and less intense flavor. Dark chocolate with 70% cocoa is recommended for a richer taste.
- → How should I store the mousse cake?
Store the mousse cake covered in the refrigerator for up to 3 days to maintain its texture and freshness.
- → Can I prepare this dessert ahead of time?
Yes, this dish is excellent for making ahead. Allow at least 4 hours, preferably overnight, for the mousse to set properly in the refrigerator.
- → What can I use as garnish if I don't have berries?
You can use shaved chocolate, a dusting of powdered sugar, or even nuts like toasted almonds or hazelnuts as alternative garnishes.
- → Can I make this without a springform pan?
Yes, you can use a regular cake pan or individual ramekins instead. Grease the pan lightly for easy removal if needed.