
 Pin it
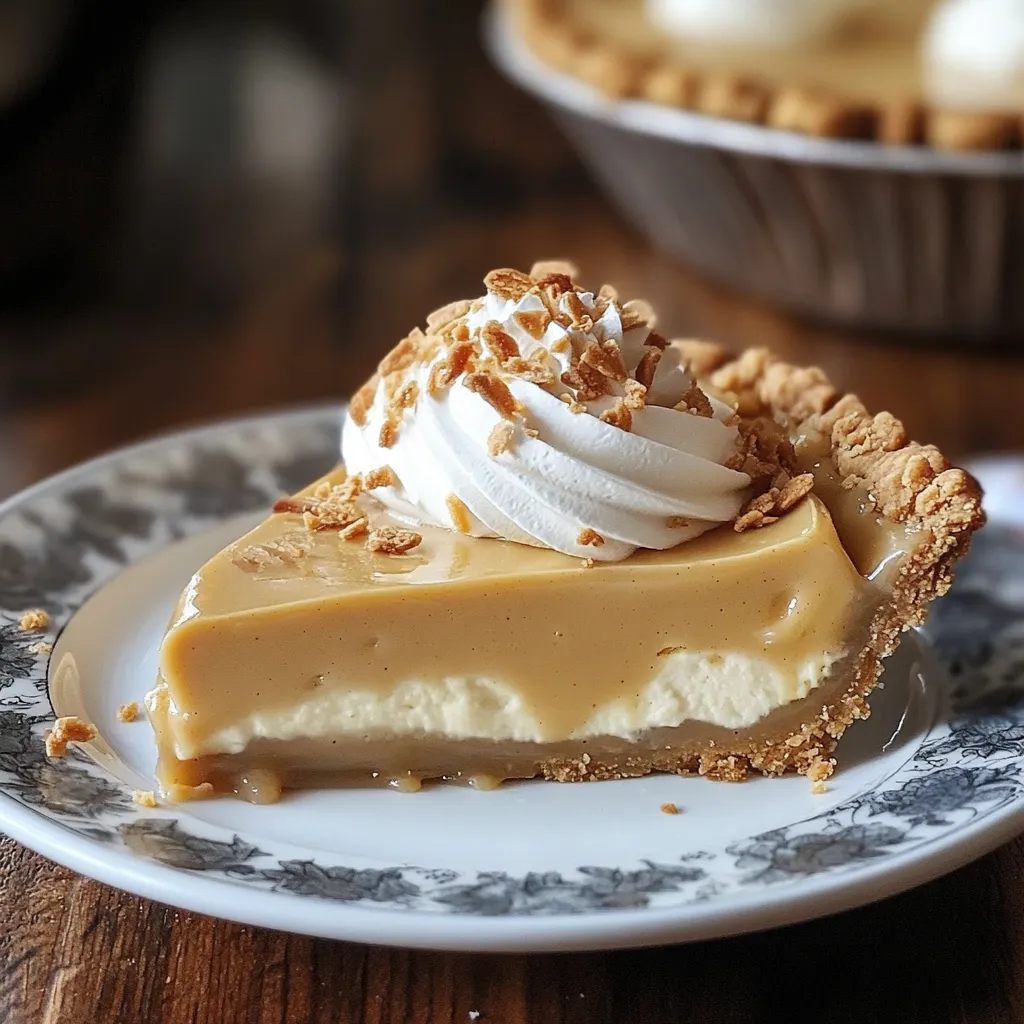
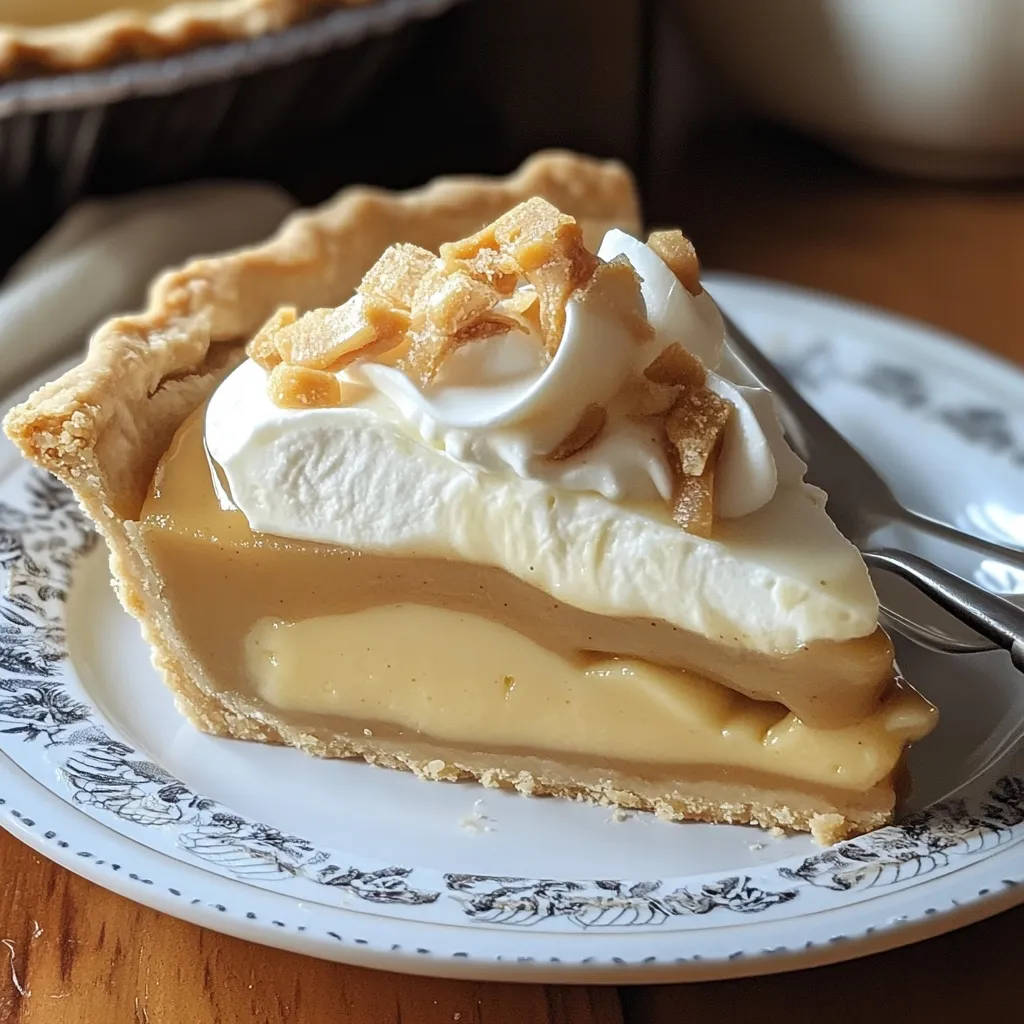
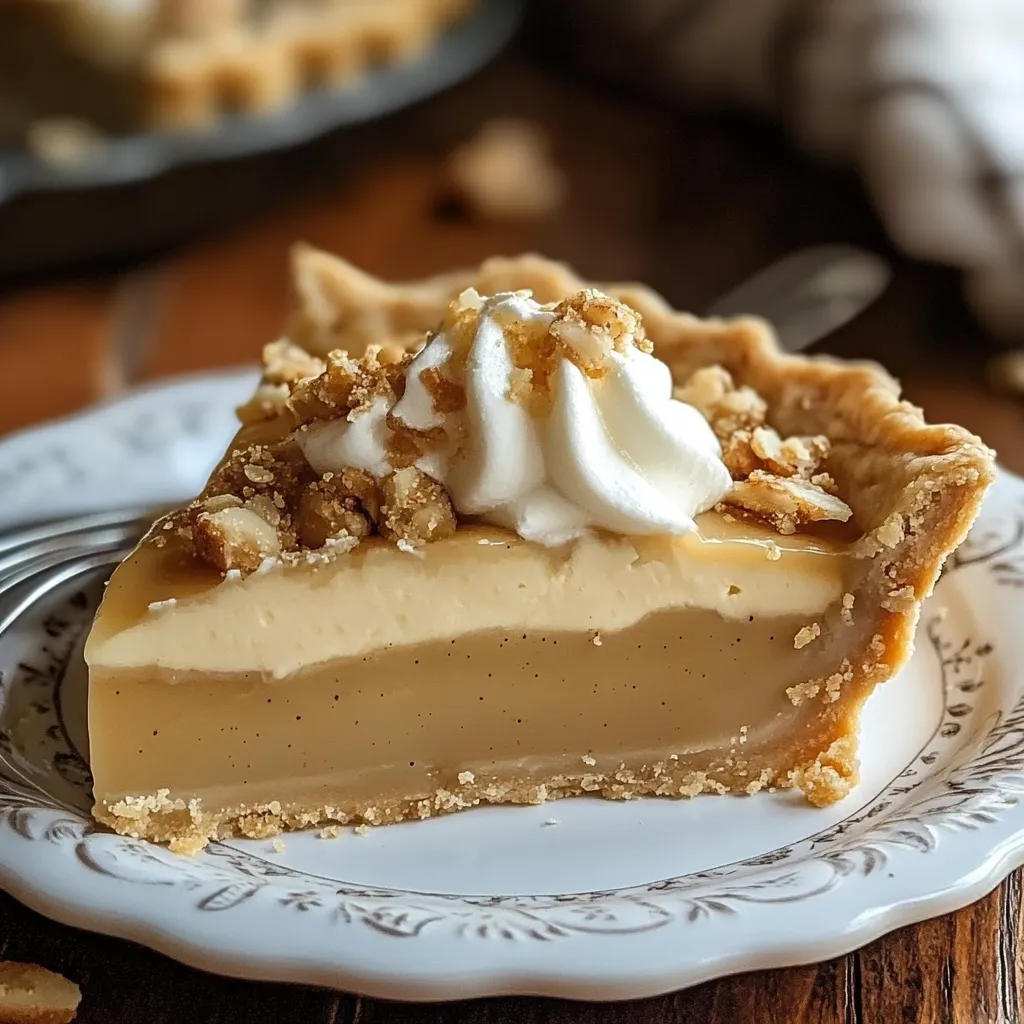
This butterscotch pie recipe delivers all the southern comfort you'd expect from Dolly Parton's kitchen - a silky smooth butterscotch filling nestled in a graham cracker crust that brings just the right amount of sweetness and texture to each bite.
I first made this pie for a family gathering and watched as even the pickiest eaters asked for seconds. The combination of that crunchy graham crust with the velvety butterscotch filling has become my signature contribution to holiday meals.
Ingredients
- Graham cracker crumbs: Create a sweet textured base that complements the smooth filling
- Brown sugar: Provides that rich caramel undertone essential for true butterscotch flavor
- Whole milk: Gives the filling its luxurious texture; use nothing less than whole for proper thickness
- Egg yolks: Add richness and help thicken the filling while creating a silky mouthfeel
- Butter: Contributes to the signature butterscotch flavor profile and adds glossiness
- Vanilla extract: Rounds out the flavor profile with warm aromatic notes
 Pin it
Step-by-Step Instructions
- Prepare the Graham Cracker Crust:
- Combine graham cracker crumbs with sugar and optional cinnamon until well mixed. Pour in melted butter and stir until mixture resembles wet sand with no dry spots remaining. Press firmly into a 9-inch pie dish creating an even layer across the bottom and up the sides. Use the back of a measuring cup to compact the crust. Bake at 350°F for 8-10 minutes until the edges turn golden brown and you can smell the toasty graham crackers.
- Create the Butterscotch Base:
- Whisk brown sugar with flour and salt in a medium saucepan until no lumps remain. This dry mixture combination prevents clumping later. Add milk in a slow steady stream while constantly whisking to create a smooth liquid. Heat over medium heat stirring frequently with a wooden spoon or heat resistant spatula reaching all corners of the pan to prevent scorching.
- Develop the Filling:
- Continue cooking the mixture until it noticeably thickens and begins to bubble gently. This will take approximately 5-7 minutes. You know it's ready when the mixture coats the back of a spoon and a line drawn through it with your finger remains clear. Patience here creates the perfect consistency.
- Temper the Egg Yolks:
- Ladle about 1/2 cup of the hot mixture into beaten egg yolks while whisking vigorously. This gradually raises the temperature of the eggs without scrambling them. Pour this warmed egg mixture back into the saucepan in a thin stream while continuously whisking to incorporate fully.
- Finish the Filling:
- Cook for 2-3 more minutes maintaining a gentle bubble while stirring constantly. The mixture will become noticeably thicker resembling pudding. Remove from heat once it holds its shape when drizzled from the spoon. Add butter pieces and vanilla stirring until completely incorporated and glossy.
- Assemble and Chill:
- Pour the hot filling directly into the cooled graham cracker crust spreading evenly to the edges. Allow to cool at room temperature for 30 minutes before transferring to refrigerator. Chill for at least 3 hours or preferably overnight until completely set.
Brown sugar is truly the star of this recipe. I remember my grandmother insisting on using dark brown sugar for her butterscotch pies claiming it gave a deeper flavor. She would always let me press the graham cracker crust which became my favorite kitchen job as a child.
Perfect Pie Crust Tips
Creating the ideal graham cracker crust requires just the right ratio of crumbs to butter. Too little butter and your crust crumbles when sliced; too much and it becomes greasy. The melted butter should just barely bind the crumbs allowing them to hold together when pressed between your fingers. When pressing into the pan work from the center outward creating an even thickness throughout. The bottom edge where the sides meet the base tends to collect excess crumbs so pay special attention to evenly distribute the mixture there.
The Art of Tempering Eggs
The technique of tempering eggs prevents them from scrambling when added to hot mixtures. This crucial step requires patience and attention. Pour the hot filling into the egg yolks in a thin stream while constantly whisking. The goal is to gradually raise the temperature of the eggs without cooking them. If you notice any small lumps forming immediately strain the mixture through a fine mesh sieve before returning it to the heat. This ensures your final filling will be perfectly smooth without any distracting eggy bits.
 Pin it
Serving Suggestions
This butterscotch pie stands beautifully on its own but can be elevated with thoughtful accompaniments. A dollop of lightly sweetened whipped cream balances the sweetness of the filling. For texture contrast sprinkle toasted chopped pecans over the whipped cream before serving. Coffee particularly a medium roast complements the caramel notes in the butterscotch. During fall and winter months a light dusting of freshly grated nutmeg over the top adds a seasonal warmth to each slice.
Frequently Asked Questions
- → Can I use a store-bought crust for this pie?
Yes, you can substitute a store-bought graham cracker crust if you prefer to save time. However, making it from scratch adds extra flavor and freshness.
- → How do I ensure the filling is smooth and lump-free?
Whisk the milk slowly into the dry ingredients and continue stirring constantly as it cooks. Temper the egg yolks carefully to avoid curdling.
- → Can I make this pie ahead of time?
Yes, this pie can be made a day in advance. Refrigerate it after assembling and top with whipped cream just before serving.
- → Can I substitute the whipped cream topping with something else?
You can use meringue or a dusting of powdered sugar as an alternative topping if whipped cream isn’t your preference.
- → What’s the best way to store leftovers?
Store leftover pie in an airtight container or cover it tightly with plastic wrap. Keep it refrigerated, and it will stay fresh for up to 3 days.