 Pin it
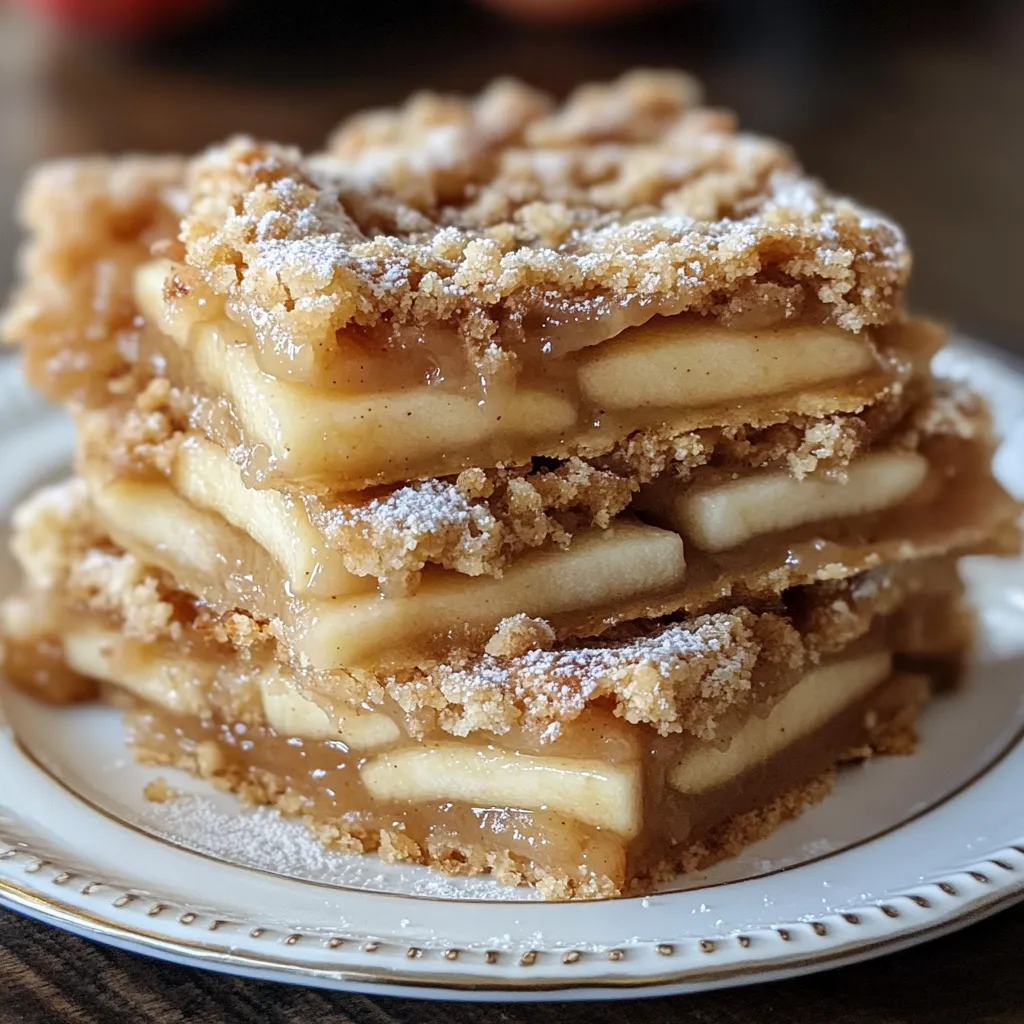
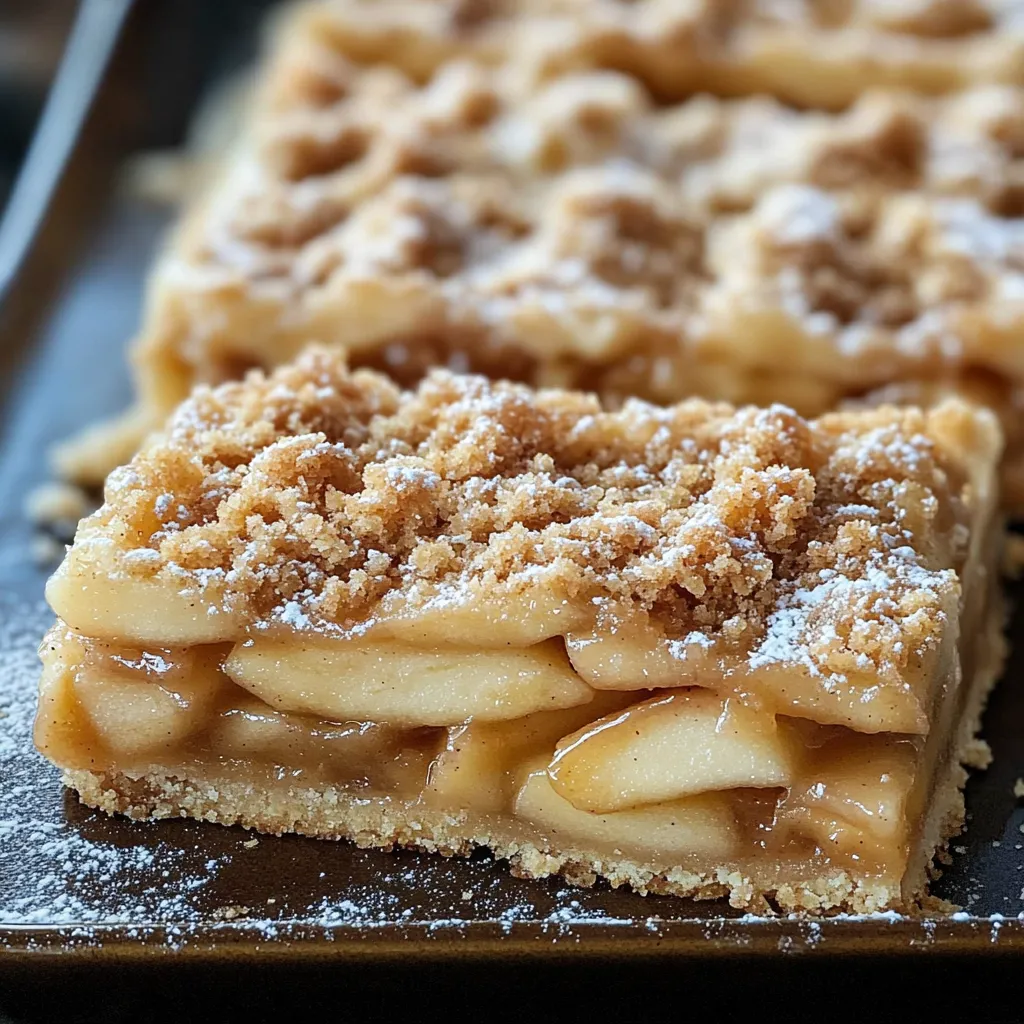
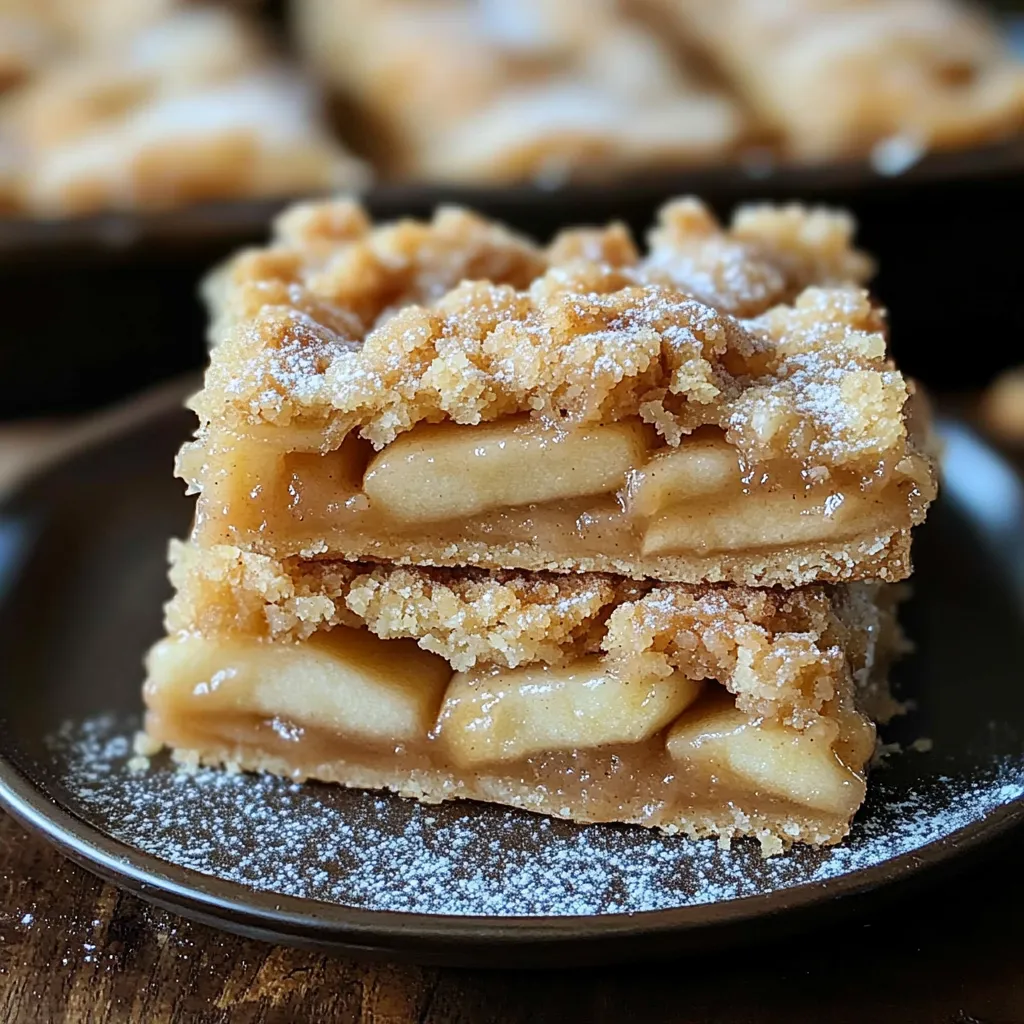
This apple pie bar recipe transforms the classic dessert into convenient, portable squares without sacrificing that homemade pie flavor. The buttery crust and crumbly topping sandwich perfectly spiced apple slices for a treat that's easier than traditional pie but just as satisfying.
I first made these bars for my daughter's fall bake sale, and they sold out within minutes. Now they're requested at every family gathering, especially during apple-picking season when we have bushels to use up.
Ingredients
- All purpose flour: Creates the perfect tender but sturdy base for these bars
- Cold butter (cubed): Essential for that flaky texture you expect from good pie crust
- Granny Smith apples: Provide the perfect tartness to balance the sweet topping
- Cinnamon: Adds that classic warm spice that pairs perfectly with apples
- Crushed pecans: In the topping add a delightful nutty crunch and flavor depth
Step-by-Step Instructions
- Prepare the Crust:
- Combine flour and sugar in a large bowl, then cut in cold butter until the mixture resembles coarse crumbs. The temperature of the butter is crucial here. It must be cold to create those coveted flaky pockets in the finished crust. Mix egg yolks and milk separately, then incorporate into the flour mixture until a soft dough forms. Remember to reserve one quarter of this dough for your topping later.
- Form the Base:
- Press most of the dough firmly and evenly into your prepared baking pan. Take your time here to ensure an even thickness throughout. Press it slightly up the sides to create a shallow edge that will hold in the filling juices.
- Prepare the Apple Filling:
- Layer your thinly sliced apples over the crust in an even arrangement. Try to keep the apple slices consistent in thickness so they cook evenly. Combine your sugars and cinnamon thoroughly before sprinkling over the apples to ensure even distribution of sweetness and spice.
- Create the Crumb Topping:
- Mix your reserved dough with additional flour, sugars, and crushed pecans until crumbly. The texture should be somewhat dry and easily sprinkled. Distribute this mixture evenly over the apples, covering the entire surface.
- Bake to Golden Perfection:
- Bake until the topping turns a beautiful golden brown and you can see the apple filling bubbling at the edges. This visual cue is more reliable than timing alone, as oven temperatures can vary. Allow the bars to cool completely in the pan before cutting to prevent the filling from oozing out.
 Pin it
My grandmother taught me this recipe, insisting that the key was slicing the apples paper thin. She would use her antique mandoline slicer handed down through generations. While I use a modern slicer, I always think of her careful hands guiding those apples through whenever I make this recipe.
Seasonal Apple Selection
Fall offers the best selection of fresh apples for this recipe, but quality apples are available year-round. Granny Smith provides reliable tartness and holds its shape during baking, but Honeycrisp offers a sweeter profile with similar structural integrity. For a more complex flavor, try mixing multiple varieties in the same batch. Pink Lady apples create a slightly sweeter version while maintaining that necessary firmness during baking.
 Pin it
Make-Ahead Options
These bars actually improve with a day of rest as the flavors meld together. Prepare them up to three days before serving and store covered at room temperature. For longer storage, refrigerate for up to a week or freeze for up to three months. To freeze, cut cooled bars into portions, wrap individually in plastic wrap, then store in freezer bags. Thaw overnight in the refrigerator and bring to room temperature before serving, or warm slightly in a 300°F oven for that fresh-baked taste.
Serving Suggestions
While delicious on their own, these bars reach new heights when served warm with a scoop of vanilla ice cream or a dollop of freshly whipped cream. For breakfast or brunch, pair with a cup of coffee or hot apple cider. During the holidays, dust with powdered sugar for a festive touch. The sturdy nature of these bars makes them perfect for packing in lunches or taking to outdoor events.
Frequently Asked Questions
- → What type of apples work best for these bars?
Granny Smith apples are ideal due to their firm texture and tart flavor, but Honeycrisp or Fuji apples can also be used.
- → Can I make the crust ahead of time?
Yes, you can prepare the crust dough in advance and store it in the refrigerator for up to 2 days before assembling the bars.
- → What is the purpose of reserving some dough for the topping?
Reserving dough allows you to create a crumbly and textured topping blended with sugars and crushed pecans for added crunch.
- → How do I know when the bars are done baking?
The bars are ready when the topping turns golden brown, and juices start to bubble around the edges of the baking pan.
- → Can these bars be frozen for storage?
Yes, let the bars cool completely, then wrap them in an airtight container or plastic wrap before freezing for up to 3 months.
- → What can I serve these bars with?
These bars pair wonderfully with a scoop of vanilla ice cream or a dollop of whipped cream for a classic dessert.
