
 Pin it
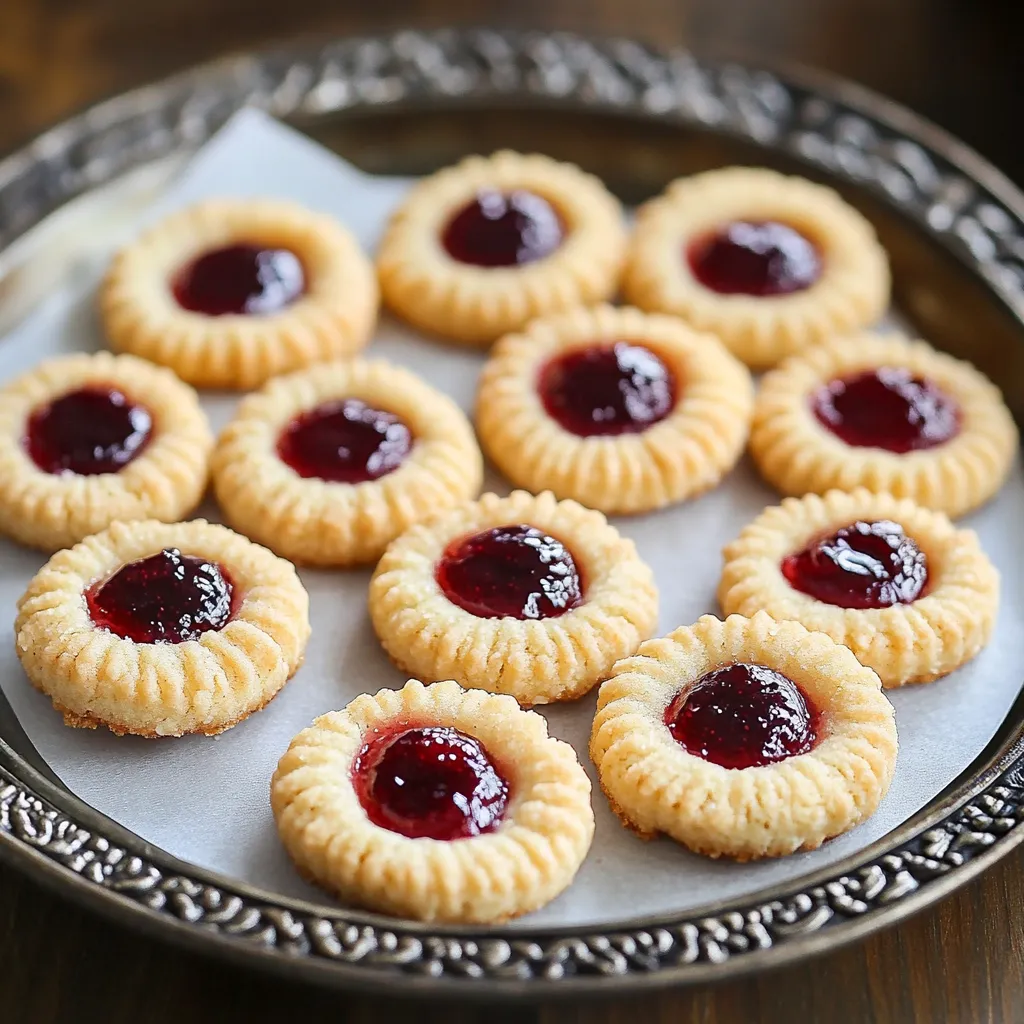
This jam thumbprint cookie recipe transports me back to my grandmother's kitchen, where the sweet aroma of freshly baked cookies filled the air every holiday season. The buttery shortbread base paired with vibrant fruit jam creates that perfect balance of textures and flavors that generations have loved.
I first learned to make these cookies alongside my grandmother when I was just tall enough to reach the countertop. She would let me make the thumbprints and fill them with jam, which always felt like magic when they came out of the oven perfectly shaped.
Ingredients
- All purpose flour: Provides the perfect structure while keeping the cookies tender
- Baking powder: Gives just the right amount of lift without making them cakey
- Salt: Balances the sweetness and enhances the butter flavor
- Unsalted butter: Creates that rich melt in your mouth texture
- Granulated sugar: Provides sweetness and helps create those crisp edges
- Large egg: Binds everything together while adding richness
- Vanilla extract: Brings warmth and depth to the simple dough
- Fruit jam: Creates that beautiful jewel toned center and sweet contrast
 Pin it
Step-by-Step Instructions
- Prepare Your Workspace:
- Preheat your oven to 350°F and line your baking sheet with parchment paper. Having everything ready before you begin ensures the dough stays at the optimal temperature throughout the process.
- Mix Dry Ingredients:
- Whisk the flour, baking powder, and salt together thoroughly in a medium bowl. This ensures even distribution of the leavening agent and prevents any salty pockets in your finished cookies.
- Cream Butter and Sugar:
- Beat the softened butter and granulated sugar together for at least 3 minutes until the mixture becomes noticeably lighter in both color and texture. This step incorporates air into the dough and is crucial for that melt in your mouth texture.
- Add Wet Ingredients:
- Incorporate the egg and vanilla extract, mixing until fully combined but not overmixed. The mixture may look slightly curdled at first but will come together beautifully.
- Combine Wet and Dry:
- Gradually add the flour mixture to your butter mixture, mixing just until no dry spots remain. Overmixing at this stage can develop too much gluten, resulting in tough cookies.
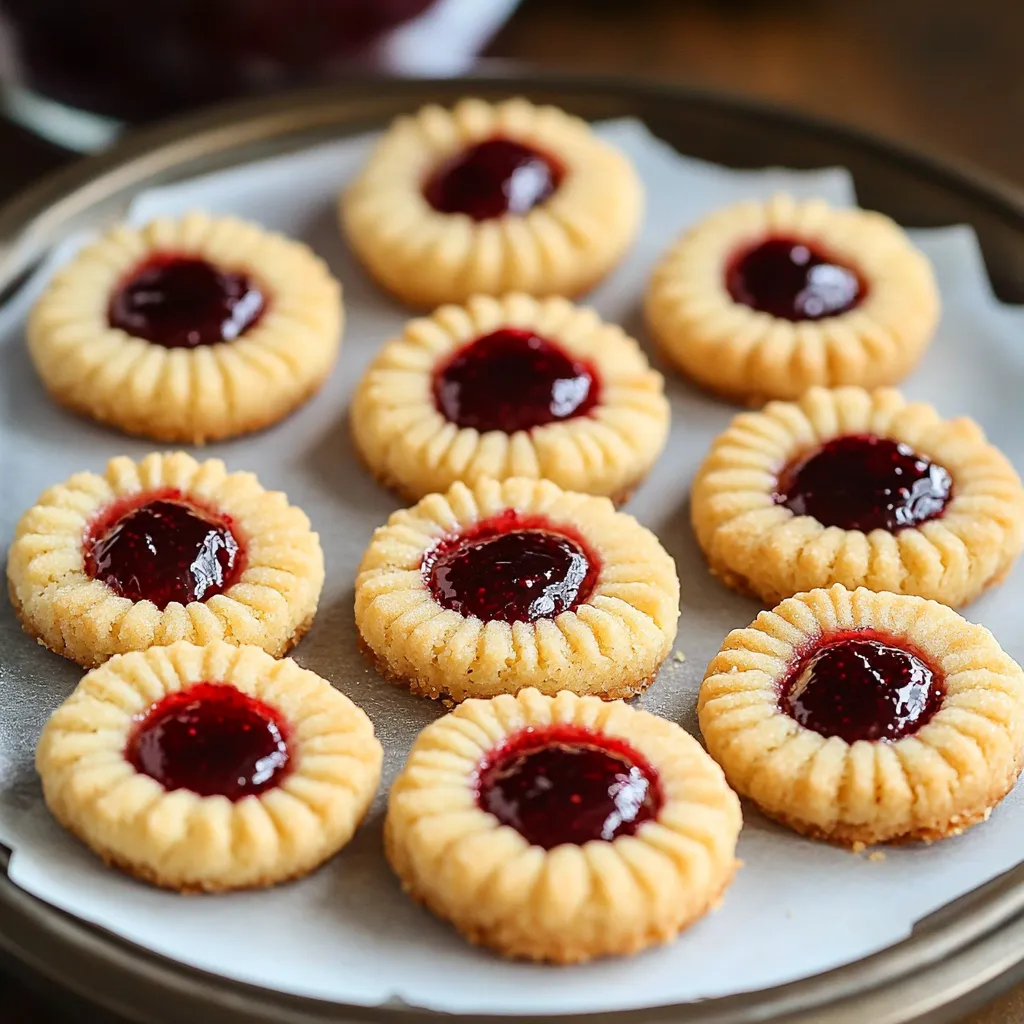
- Shape Your Cookies:
- Roll the dough into 1 inch balls using the palms of your hands. Place them about 2 inches apart on your prepared baking sheet, then gently press your thumb into the center of each to create a well for the jam.
- Add the Jam:
- Fill each indentation with approximately 1 teaspoon of your chosen jam. Avoid overfilling as the jam will spread slightly during baking.
- Bake to Perfection:
- Bake for 10 to 12 minutes until the edges are just turning golden but the cookies are still pale on top. This ensures they remain tender rather than becoming too crisp or dry.
My favorite part of making these cookies is watching children experience the same joy I felt when making the thumbprint indentations. There's something magical about creating that little well and filling it with colorful jam that captivates young bakers and creates lasting memories.
Storage and Freshness
These thumbprint cookies will stay fresh in an airtight container at room temperature for up to 5 days. For longer storage, place them in a single layer in a freezer safe container with parchment between layers. When ready to enjoy, simply thaw at room temperature for about 30 minutes. The cookies may soften slightly after freezing but will still taste delicious.
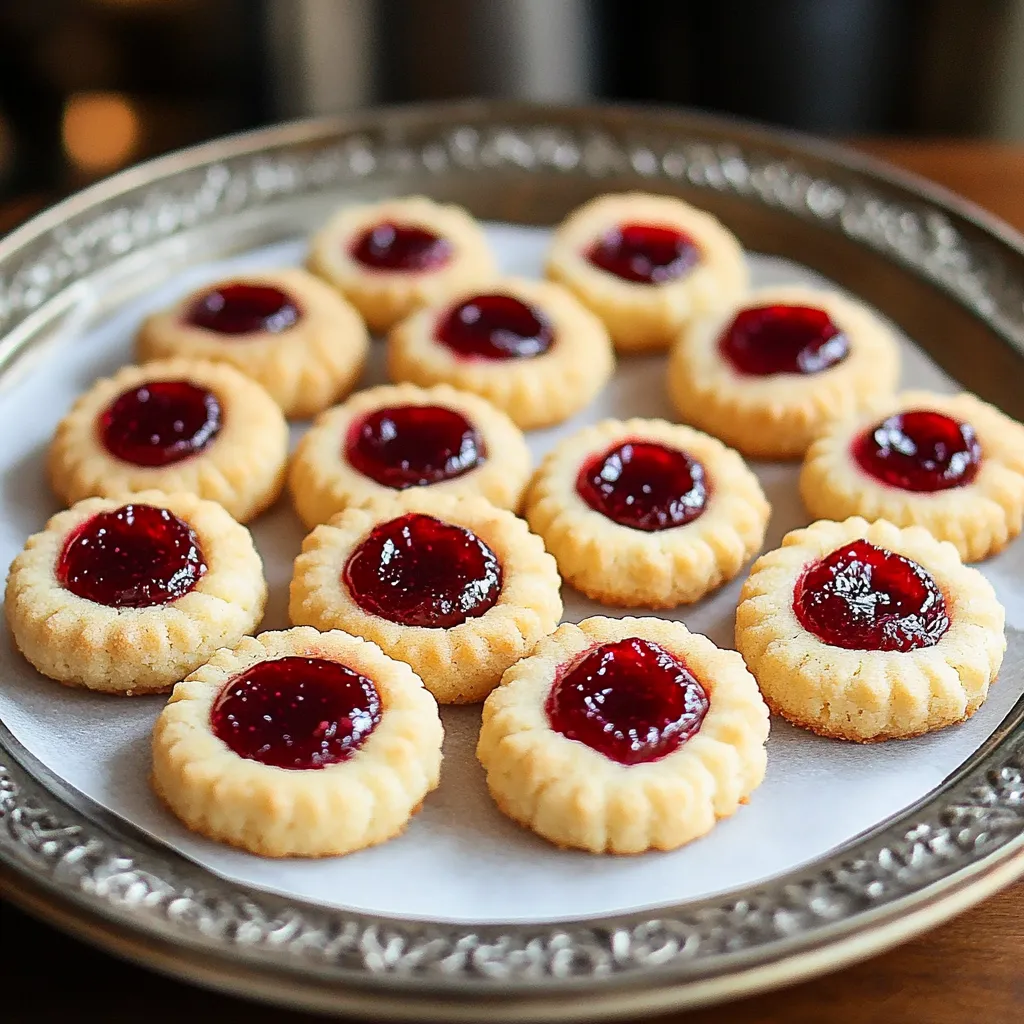
Perfect Jam Selection
While strawberry and raspberry are classic choices, don't be afraid to experiment with different jam flavors. Apricot creates a beautiful golden center and offers a slightly tangy contrast to the sweet cookie base. Black currant jam provides a sophisticated twist with its deep flavor, while orange marmalade brings a bright citrusy note that pairs wonderfully with the buttery cookie. For special occasions, consider using homemade preserves or high quality artisanal jams.
 Pin it
Making Them Ahead
The beauty of these cookies extends to their make ahead potential. You can prepare the dough up to 3 days in advance and store it tightly wrapped in the refrigerator. When ready to bake, allow the dough to sit at room temperature for about 30 minutes until pliable enough to roll. You can even form the cookies with the indentations, place them on a baking sheet, and freeze them unfilled. Once frozen solid, transfer to a freezer bag and store for up to 2 months. Bake directly from frozen, adding 2 to 3 minutes to the baking time, and add jam before baking.
Frequently Asked Questions
- → Can I use different types of jam?
Yes, you can use any jam you prefer, such as strawberry, raspberry, apricot, or even a combination for variety.
- → How do I avoid the cookies from spreading too much?
Ensuring the butter is softened but not melted, and chilling the dough slightly before baking, can help prevent excessive spreading.
- → Can I make these cookies ahead of time?
Absolutely! You can prepare the dough a day in advance and store it in the fridge. Bake fresh whenever you’re ready.
- → What can I use instead of butter for a dairy-free option?
You can replace butter with a plant-based alternative or margarine that is suited for baking.
- → How do I store these cookies for freshness?
Store the cookies in an airtight container at room temperature for up to a week or freeze for longer storage.