 Pin it
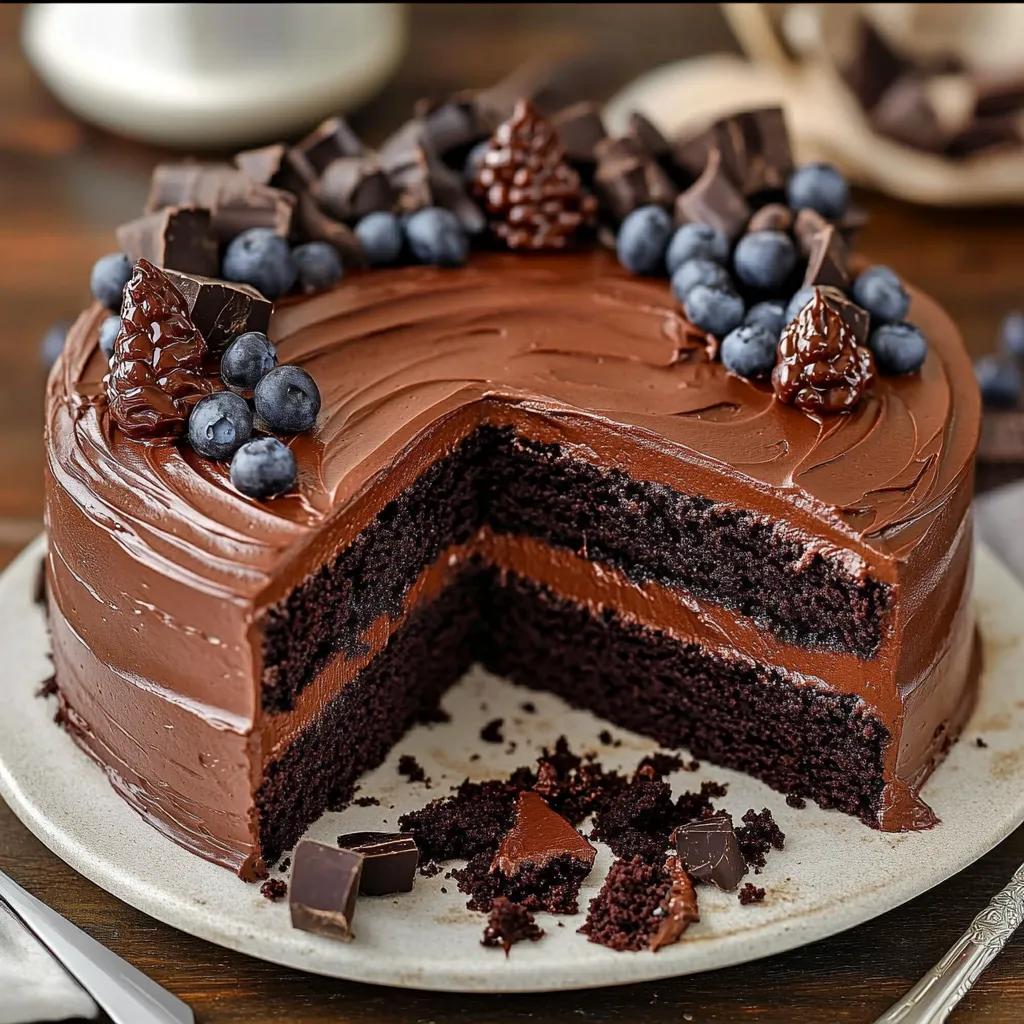
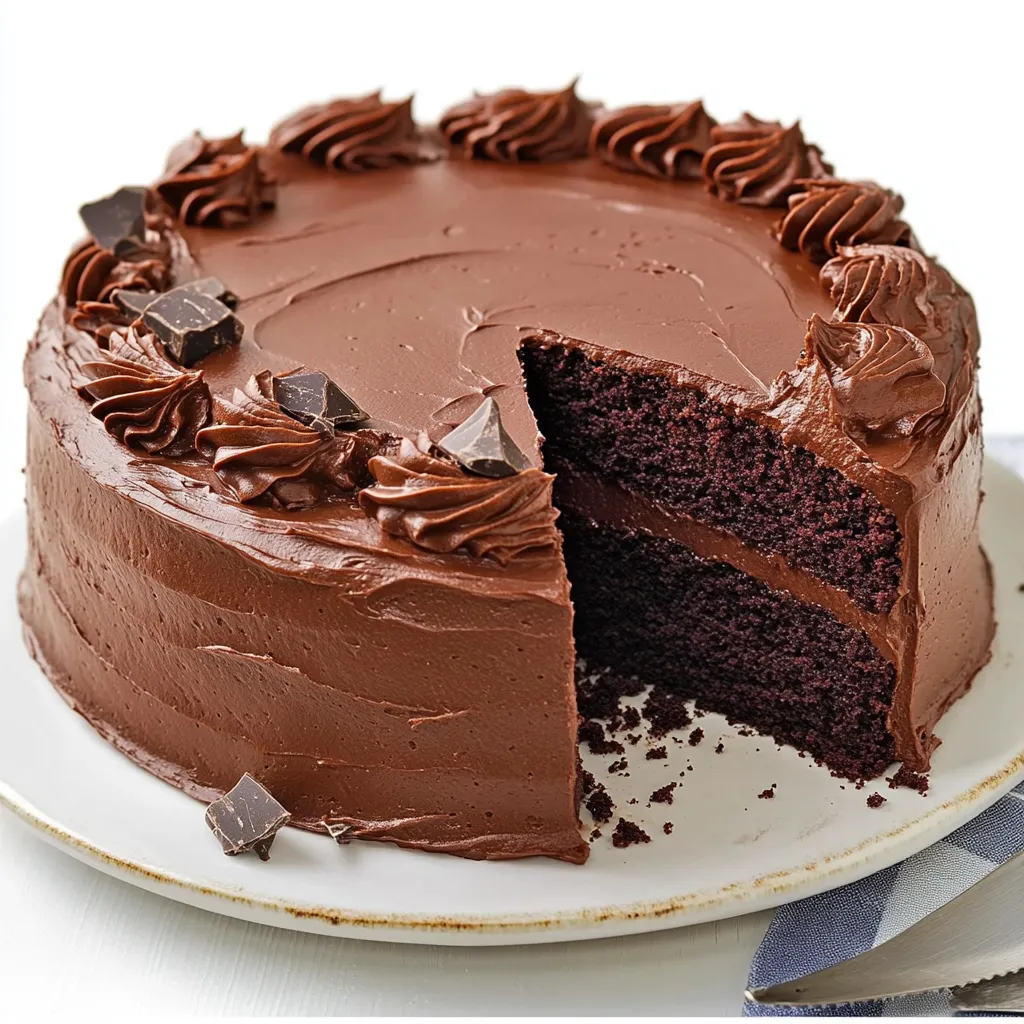
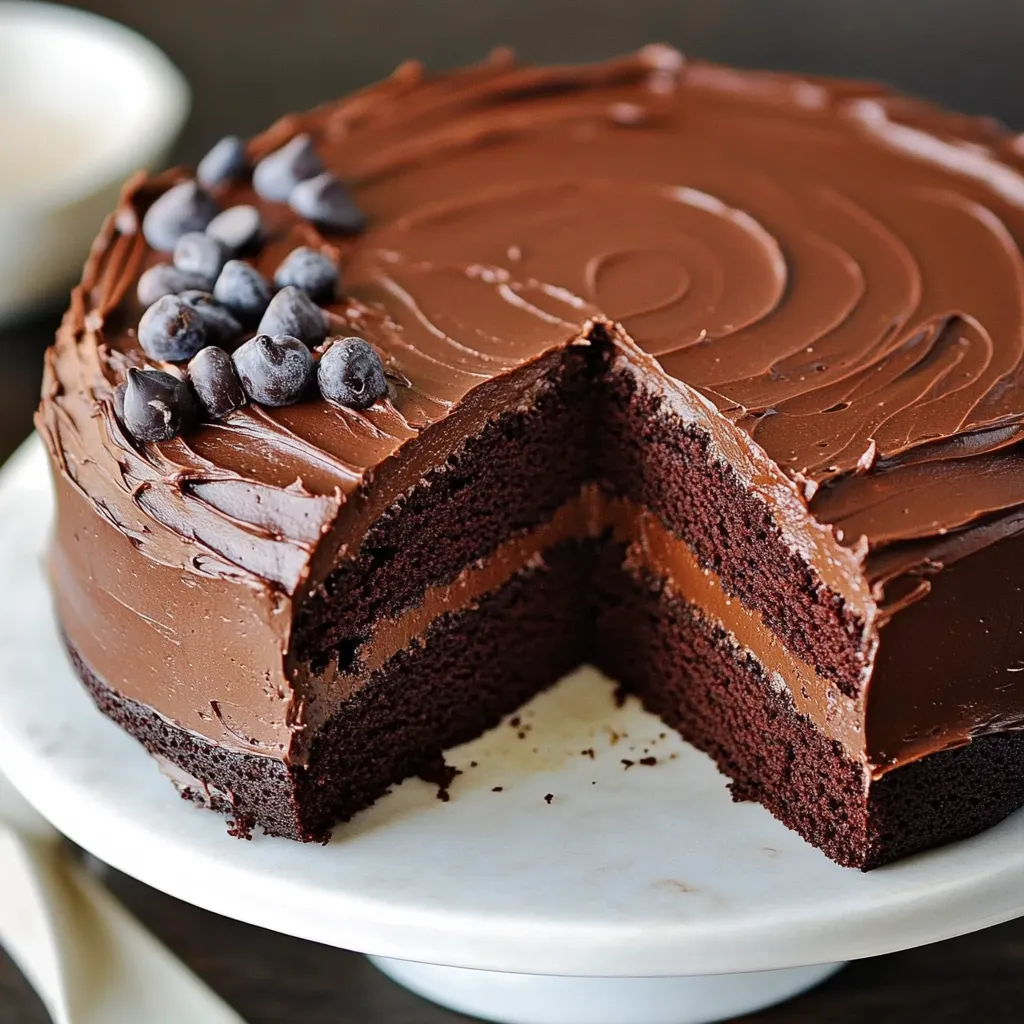
This ultimate chocolate cake recipe has become my signature dessert for every special occasion. Rich, moist, and intensely chocolatey, it transforms even mundane gatherings into memorable celebrations with just one bite.
I first created this recipe when my daughter requested a chocolate cake for her 10th birthday. After testing countless versions, this one made her eyes light up with that first forkful. Years later, it remains the most requested recipe from family and friends.
Ingredients
- All purpose flour: Provides the perfect structure without becoming tough
- Granulated sugar: Balances the cocoa while ensuring proper moisture retention
- Unsweetened cocoa powder: Gives deep chocolate flavor, use Dutch processed for even richer results
- Baking powder and baking soda: Work together to create the ideal rise and texture
- Salt: Enhances all the flavors, especially the chocolate notes
- Milk: Adds moisture and creates tenderness in the crumb
- Vegetable oil: Keeps the cake moist far longer than butter would
- Large eggs: Bind ingredients while adding richness
- Vanilla extract: Complements and deepens the chocolate flavor
- Boiling water: Blooms the cocoa powder, revealing its full flavor potential
- Unsalted butter: Makes the frosting silky and spreadable
- Powdered sugar: Creates a smooth frosting without grittiness
- Heavy cream: Gives the frosting a luxurious mouthfeel
Step-by-Step Instructions
- Prepare Your Equipment:
- Heat your oven to exactly 350°F using an oven thermometer for accuracy. Thoroughly grease your pans with butter then line with parchment circles. The parchment ensures your layers release perfectly without sticking.
- Create The Dry Base:
- Whisk the flour, sugar, cocoa powder, baking powder, baking soda, and salt in a large bowl until completely combined. Breaking up any cocoa clumps is crucial for a smooth batter. Whisking incorporates air and ensures even distribution of leavening agents.
- Incorporate Wet Ingredients:
- Pour in the milk, oil, eggs, and vanilla. Mix on low speed if using a mixer or with a whisk by hand until just combined. Avoid overmixing which develops gluten and toughens the cake. The batter will look thick at this stage.
- Add The Secret Ingredient:
- Carefully pour in the boiling water and stir gently. The batter will immediately transform becoming thin and glossy. This hot water blooms the cocoa developing its flavor and creating the signature moist texture. Trust the process even though the batter seems too thin.
- Bake To Perfection:
- Divide the batter evenly between your prepared pans. Tap each pan gently on the counter to remove air bubbles. Bake in the center rack for exactly 30 minutes then check for doneness. A toothpick should come out with a few moist crumbs but no wet batter.
- Cool Strategically:
- Allow cakes to cool in the pans for precisely 10 minutes. This setting period helps the structure stabilize. Then run a knife around the edges and invert onto a cooling rack. Remove parchment and allow to cool completely for at least 1 hour.
- Create Luxurious Frosting:
- Beat room temperature butter for 3 full minutes until pale and fluffy. Gradually add powdered sugar and cocoa powder alternating with heavy cream. The slow addition prevents lumps and creates silky texture. Beat for an additional 5 minutes for cloud like consistency.
 Pin it
My secret weapon in this recipe is the boiling water. I discovered this technique from my grandmother who swore it was the only way to make a proper chocolate cake. She would always say a chocolate cake batter should shimmer like silk before it goes into the oven. Now whenever I make this cake I feel her presence in my kitchen guiding my hands.
Storing Your Chocolate Cake
This chocolate cake maintains its moisture remarkably well because of the oil base. Store unfrosted layers wrapped tightly in plastic wrap at room temperature for up to three days. Once frosted keep the cake covered at room temperature for up to five days. For longer storage freeze unfrosted layers wrapped in plastic and foil for up to three months. Thaw overnight in the refrigerator before frosting. Interestingly the flavor actually deepens after the first day as the chocolate notes continue to develop.
 Pin it
Simple Variations To Try
Transform this basic recipe with simple additions. Fold in 1 cup of chocolate chips to the batter for pockets of melted chocolate throughout. Replace the water with strong brewed coffee to enhance the chocolate flavor without adding coffee taste. Add a layer of raspberry preserves between cake layers for a fruity contrast. For a more grown up version brush each layer with 2 tablespoons of Kahlúa or bourbon before frosting. These small changes create entirely new dessert experiences while maintaining the perfect texture of the original.
Serving Suggestions
Present this cake on a pedestal cake stand for maximum impact. Garnish with chocolate curls made by running a vegetable peeler along a chocolate bar. Fresh raspberries or strawberries provide beautiful color contrast and complement the chocolate perfectly. For special occasions dust the top with edible gold powder or serve with a scoop of vanilla bean ice cream. Let the cake come to room temperature before serving to experience the full depth of flavor and perfect texture.
The Science Behind The Magic
The success of this chocolate cake lies in its chemistry. The combination of baking soda and acidic cocoa powder creates the perfect rise while the boiling water blooms the cocoa compounds releasing their full flavor potential. Oil coats the flour proteins preventing excessive gluten development which keeps the cake tender. The high ratio of sugar to flour creates moisture retention through hygroscopic properties essentially locking water molecules into the crumb structure. Understanding these reactions helps you appreciate why each ingredient and step matters to the final result.
Frequently Asked Questions
- → Can I use different types of flour?
All-purpose flour works best for this cake as it provides the right structure. Alternatives like cake flour may provide a softer texture but use with caution to avoid altering the recipe too much.
- → What can I substitute for vegetable oil?
You can use melted coconut oil or melted butter as a substitute, though keep in mind that each will slightly alter the flavor and texture.
- → How can I tell when the cake is done baking?
The cake is ready when a toothpick inserted into the center comes out clean or with just a few moist crumbs. Avoid overbaking as it may cause dryness.
- → What other frostings work with this cake?
While chocolate frosting pairs beautifully, you can also try cream cheese frosting, buttercream, or even a ganache for different flavors and textures.
- → Can I make this cake ahead of time?
Absolutely! You can bake the cake layers in advance, wrap them tightly in plastic wrap, and store them in the fridge for up to 3 days or freeze for up to 3 months. Frost just before serving for the best results.
