
 Pin it
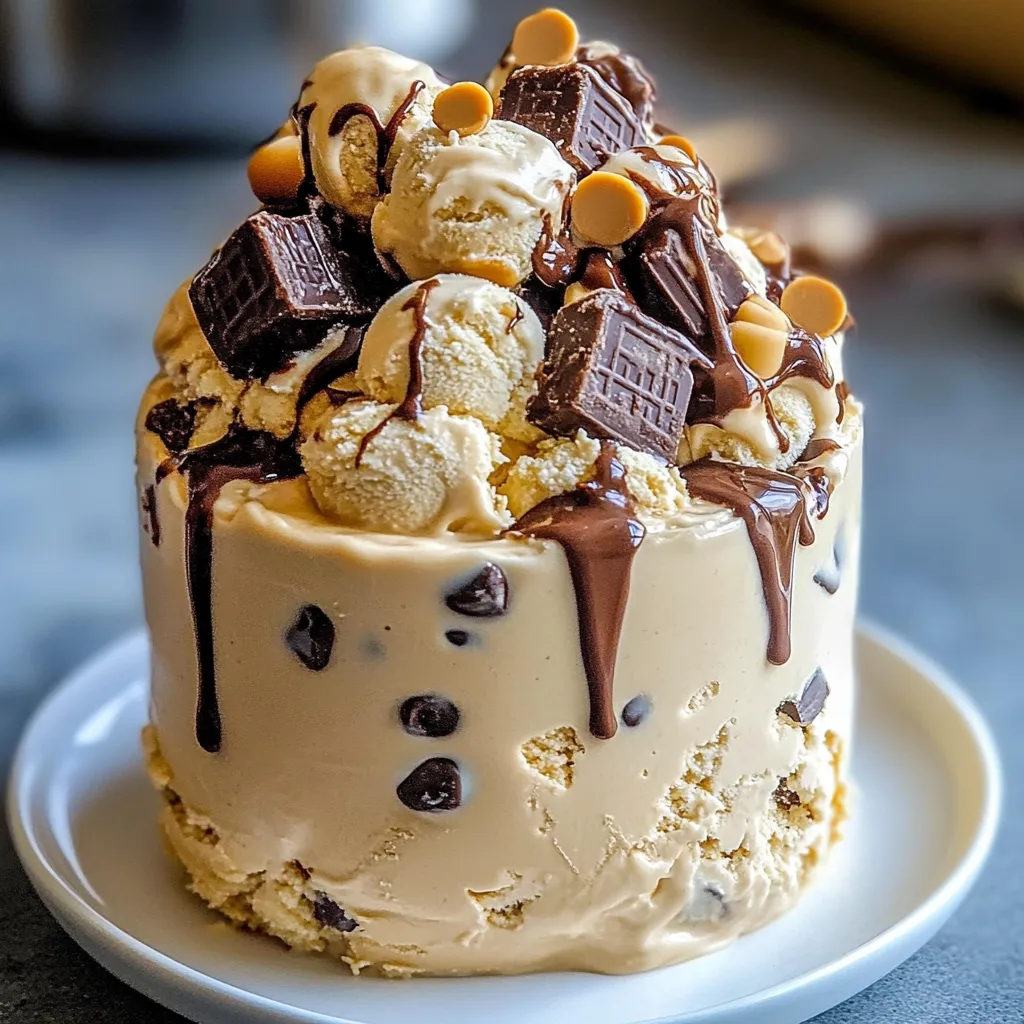
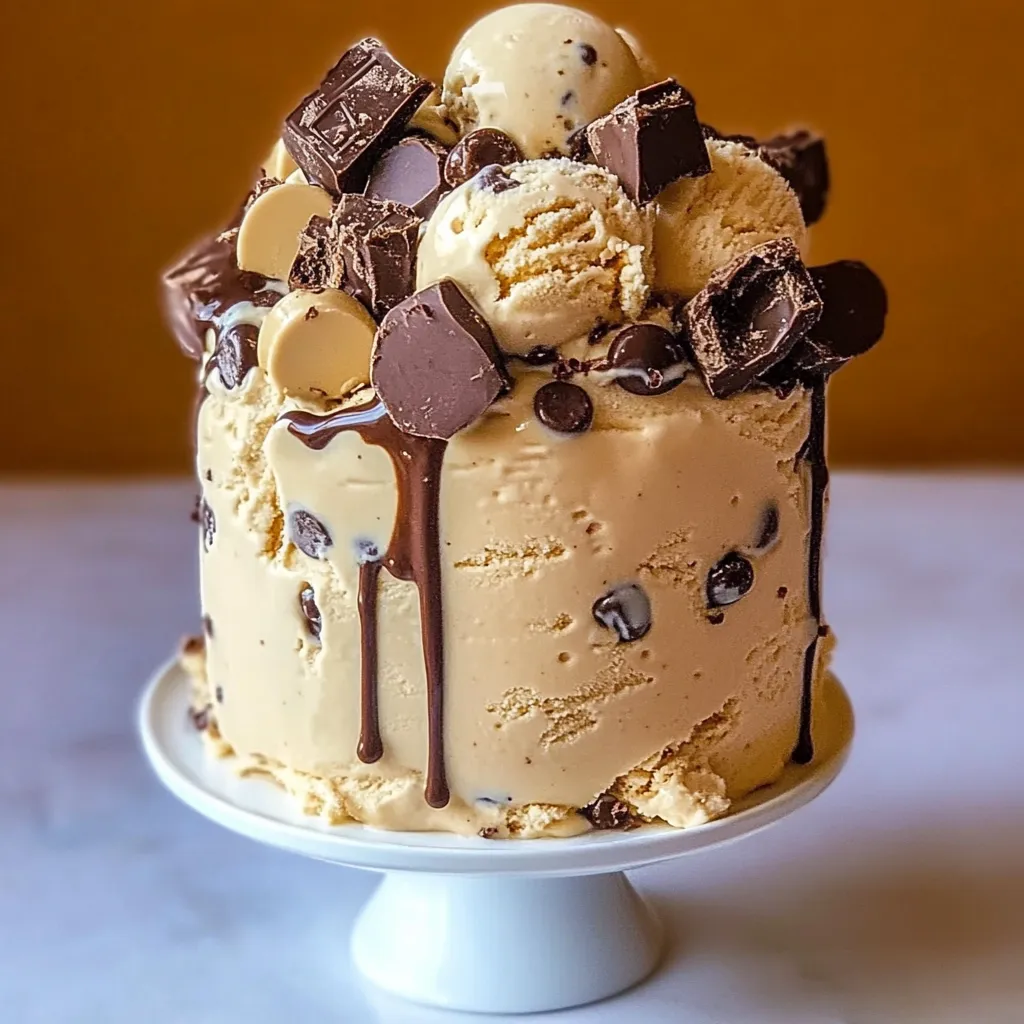
This dreamy, candy-packed frozen treat transforms your favorite chocolate bars and cookie dough into a no-churn ice cream masterpiece that's ridiculously easy to make at home. The creamy vanilla base creates the perfect canvas for chunks of Snickers, Reese's, and irresistible cookie dough pieces.
I first created this recipe during a summer heatwave when my kids were complaining about the same old popsicles in our freezer. The moment they tasted this candy-loaded creation, it became our family's most requested dessert for birthdays, movie nights, and impromptu celebrations.
Ingredients
- Heavy cream: creates that rich, silky texture essential for premium ice cream without an ice cream maker
- Sweetened condensed milk: provides sweetness and helps prevent ice crystals for a smoother freeze
- Vanilla extract: enhances the base flavor and balances the sweetness of the candy
- Butter: for the cookie dough adds richness and that authentic cookie flavor
- Brown sugar: gives the cookie dough a deeper, more complex sweetness than white sugar alone
- Heat-treated flour: ensures food safety since the cookie dough remains unbaked
- Mini chocolate chips: distribute evenly throughout the cookie dough for consistent chocolate flavor
- Snickers bars: contribute caramel, nougat, and peanuts for multiple texture experiences
- Reese's Peanut Butter Cups: add that iconic chocolate-peanut butter combo everyone loves
- Chocolate fudge sauce: creates dramatic swirls and pockets of intense chocolate flavor
 Pin it
Step-by-Step Instructions
- Create Safe Cookie Dough:
- Begin by heat-treating your flour by spreading it on a baking sheet and baking at 350°F for about 5 minutes until it reaches 165°F. This kills any harmful bacteria while maintaining the raw cookie dough experience. After cooling completely, cream together your softened butter with both sugars until light and fluffy using an electric mixer. This usually takes about 3 minutes of beating at medium speed. The mixture should look pale and increased in volume. Add milk and vanilla extract and mix until incorporated. Fold in the cooled heat-treated flour using a spatula until no dry spots remain. Gently stir in mini chocolate chips until evenly distributed. Form the dough into small pea-sized pieces and place in the refrigerator while preparing the ice cream base.
- Prepare the Ice Cream Base:
- Pour cold heavy cream into a large mixing bowl. The cream must be very cold for proper whipping. Using an electric mixer on medium-high speed, whip the cream until soft peaks form when you lift the beater about 3 to 4 minutes. Be careful not to overwhip or you'll end up with butter. In a separate bowl, stir together the sweetened condensed milk and vanilla extract until smooth. Using a rubber spatula, gently fold the sweetened condensed milk mixture into the whipped cream using a figure-eight motion. Continue folding until fully incorporated with no streaks remaining. The mixture should be thick, fluffy, and mousse-like.
- Incorporate Mix-ins:
- Chop your Snickers and Reese's cups into bite-sized pieces about 1/2-inch chunks. Too small and they get lost, too large and they freeze too hard. Remove the cookie dough pieces from the refrigerator. Pour one-third of the ice cream base into your freezer container. Sprinkle with one-third of the Snickers, Reese's, and cookie dough pieces. If using chocolate fudge sauce, drizzle a few tablespoons over this layer. Repeat with remaining ice cream base and mix-ins, creating distinct layers. Use a knife to gently swirl the mixture, being careful not to overmix or you'll lose the beautiful definition between ingredients.
- Freeze Properly:
- Cover your container with a tight-fitting lid or press plastic wrap directly onto the surface of the ice cream to prevent ice crystals. Place in the coldest part of your freezer usually the back for at least 6 hours or preferably overnight. The longer freezing time allows the flavors to meld and develop complexity. For best texture, remove from freezer and let stand at room temperature for 5-10 minutes before serving. This softens it just enough for perfect scooping.
I absolutely adore the contrast between the crunchy Snickers pieces and the soft cookie dough chunks. My daughter once proclaimed this better than any ice cream shop creation during her birthday party, and watching her friends' eyes light up with each bite has become one of my favorite parenting memories.
Storing Your Candy Avalanche
This homemade ice cream stays at peak quality for about two weeks when properly stored. Always keep it in the back of your freezer where temperatures remain most consistent. For longer storage, press parchment paper directly onto the surface before replacing the lid to prevent freezer burn. Those annoying ice crystals that sometimes form on homemade ice cream happen when it partially melts and refreezes, so minimize time outside the freezer during serving.
Endless Variations
The beauty of this recipe lies in its adaptability. Try swapping the Snickers and Reese's for Kit Kat and Twix for a crunchy chocolate-caramel version. For a mint chocolate explosion, use Andes mints and chocolate cookie dough. White chocolate lovers can create a stunning version with white chocolate chips, Golden Oreos, and Hershey's Cookies 'n Cream bars. You can even add a seasonal twist with crushed candy canes during holidays or chopped Cadbury eggs for Easter.
Make It A Dessert Bar
Transform this treat into an interactive experience by serving slightly softened scoops alongside bowls of additional toppings. Offer warm hot fudge, caramel sauce, whipped cream, sprinkles, and extra chopped candy. Guests can customize their dessert while you enjoy watching their creative combinations. For special occasions, serve in chocolate-dipped waffle bowls or between fresh-baked cookies for the ultimate ice cream sandwich.
 Pin it
The Science Behind No-Churn
Traditional ice cream relies on churning to incorporate air and prevent large ice crystals. In this no-churn version, the whipped cream provides the necessary air bubbles while the sweetened condensed milk's high sugar content lowers the freezing point, resulting in a creamy texture without specialized equipment. The fat from heavy cream also creates smaller ice crystals, contributing to that smooth mouthfeel we associate with premium ice creams.
Frequently Asked Questions
- → Can I use store-bought cookie dough?
Yes, store-bought cookie dough can be a quick alternative, but make sure it is safe to eat raw if used unbaked.
- → How can I heat-treat flour for cookie dough?
To heat-treat flour, spread it evenly on a baking sheet and bake at 350°F (175°C) for 5-10 minutes, ensuring the internal temperature reaches 165°F (74°C).
- → Can I substitute candies with other mix-ins?
Absolutely! You can use chopped chocolate bars, caramel chunks, or nuts as versatile alternatives for unique flavor profiles.
- → How long does the ice cream need to freeze?
For best results, freeze the ice cream for at least 6 hours or overnight for a firm, scoopable texture.
- → Is the chocolate fudge sauce mandatory?
No, the fudge sauce is optional, but it adds an extra layer of indulgence and richness to the ice cream.