
 Pin it
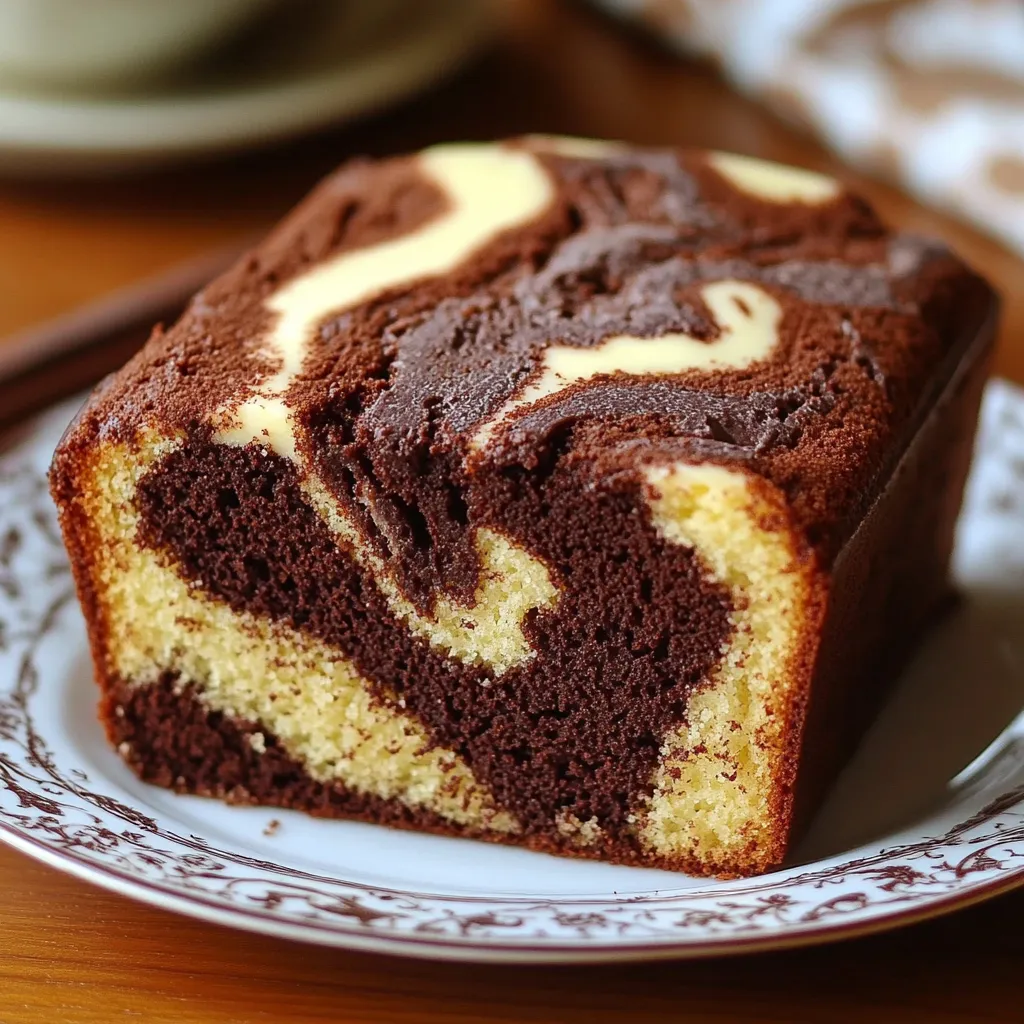
This classic marble cake brings together the perfect balance of vanilla and chocolate swirls in every slice. The contrast of light and dark batters creates not just a stunning visual effect but a delightful flavor experience that satisfies both chocolate lovers and vanilla enthusiasts alike.
I've been making this marble cake for weekend family gatherings since my grandmother first taught me the recipe. The first time my children helped swirl the batters together, their faces lit up with such wonder that it's become our special baking tradition whenever they visit.
Ingredients
- All purpose flour: Provides the perfect structure while remaining tender
- Baking powder: Ensures a proper rise without complicating the recipe
- Salt: Balances the sweetness and enhances all other flavors
- Granulated sugar: Provides just the right sweetness and helps create that delicate crumb
- Unsalted butter: Adds richness and allows you to control the salt content
- Large eggs: Bind everything together while adding moisture
- Vanilla extract: Brings warmth to the vanilla portions of the cake
- Milk: Creates a tender crumb by activating the baking powder
- Cocoa powder: Transforms half the batter into chocolate heaven
 Pin it
Step-by-Step Instructions
- Prepare Your Equipment:
- Preheat your oven to 350°F making sure your rack is positioned in the center. Thoroughly grease every corner of your loaf pan then dust with flour to prevent any sticking. This preparation ensures your beautiful marble cake releases cleanly after baking.
- Combine Dry Ingredients:
- Whisk the flour, baking powder, and salt together in a medium bowl until completely uniform. This step distributes the leavening agents evenly throughout the flour ensuring consistent rise throughout your cake.
- Create The Batter Base:
- In your mixing bowl, cream the butter and sugar together until light and fluffy, about 3-4 minutes. This incorporates air into the mixture creating a lighter texture. Add eggs one at a time, fully incorporating each before adding the next. Stir in vanilla until the mixture looks smooth and smells divine.
- Finish The Batter:
- Add the dry ingredients to your wet mixture in three portions, alternating with splashes of milk. Begin and end with the dry ingredients, mixing just until combined after each addition. Overmixing at this stage can develop gluten leading to a tough cake.
- Create Chocolate Batter:
- Transfer half of your vanilla batter to a separate bowl. Gently fold in the cocoa powder until completely incorporated with no streaks remaining. The chocolate batter will be slightly thicker than the vanilla batter which is perfectly normal.
- Create The Marble Effect:
- Alternate spoonfuls of vanilla and chocolate batter into your prepared pan. Once all batter is in the pan, insert a butter knife straight down to the bottom and gently swirl in figure eight motions. Limit yourself to 5-6 swirls to maintain distinct marbling rather than mixing the batters together.
- Bake To Perfection:
- Bake for 50-55 minutes or until a wooden toothpick inserted into the center comes out with only a few moist crumbs. The top should spring back when lightly touched and appear golden brown around the edges.
- Cool And Serve:
- Allow the cake to cool in the pan for exactly 10 minutes before transferring to a wire rack. This brief resting period allows the structure to set while still warm enough to release easily from the pan. Cool completely before slicing to prevent crumbling.
The cocoa powder is truly the star ingredient here. I specifically use Dutch processed cocoa for its deeper color and smoother flavor profile. My grandmother always said the quality of your cocoa determines the character of your marble cake, and after years of baking this family treasure, I couldn't agree more.
Storage Solutions
This marble cake maintains its moisture remarkably well when stored properly. After cooling completely, wrap tightly in plastic wrap or store in an airtight container at room temperature for up to 4 days. The flavor actually develops and improves after the first day as the vanilla and chocolate notes meld together. For longer storage, slice the cooled cake and freeze individual portions wrapped in plastic and foil for up to 3 months. Thaw slices at room temperature for about an hour before serving.
Flavor Variations
While the classic vanilla and chocolate combination is timeless, this versatile recipe welcomes creative adaptations. Replace the vanilla extract with almond extract in the light batter for a sophisticated flavor pairing with chocolate. For citrus lovers, add orange or lemon zest to the vanilla portion to create a bright contrast against the rich chocolate swirls. Coffee enthusiasts might enjoy dissolving a teaspoon of instant espresso powder into the cocoa mixture to enhance the chocolate depth with subtle coffee undertones.
 Pin it
Serving Suggestions
This marble cake stands beautifully on its own but can be elevated for special occasions. Dust lightly with powdered sugar just before serving for an elegant finishing touch. For dessert, serve slightly warmed with a scoop of vanilla ice cream or fresh berries. A simple chocolate ganache drizzled over the top transforms this everyday cake into a celebration-worthy treat. At breakfast or brunch, pair with fresh fruit and coffee for a not-too-sweet morning indulgence.
Frequently Asked Questions
- → What type of cocoa powder is best for marble cake?
Unsweetened cocoa powder works best for a rich, chocolatey flavor that balances with the vanilla batter.
- → How do I ensure a good marble swirl effect?
Use a knife or skewer to gently swirl the batters together, avoiding overmixing to maintain the distinct layers.
- → Can I substitute butter with oil?
Yes, you can substitute butter with vegetable oil for a slightly more moist texture, though the flavor profile will differ.
- → How can I tell if the cake is fully baked?
Insert a toothpick into the center of the cake. If it comes out clean or with a few dry crumbs, the cake is done.
- → Can I add additional flavors to the batter?
Yes, you can add a pinch of cinnamon, espresso powder, or orange zest to enhance the overall flavor profile.