
 Pin it
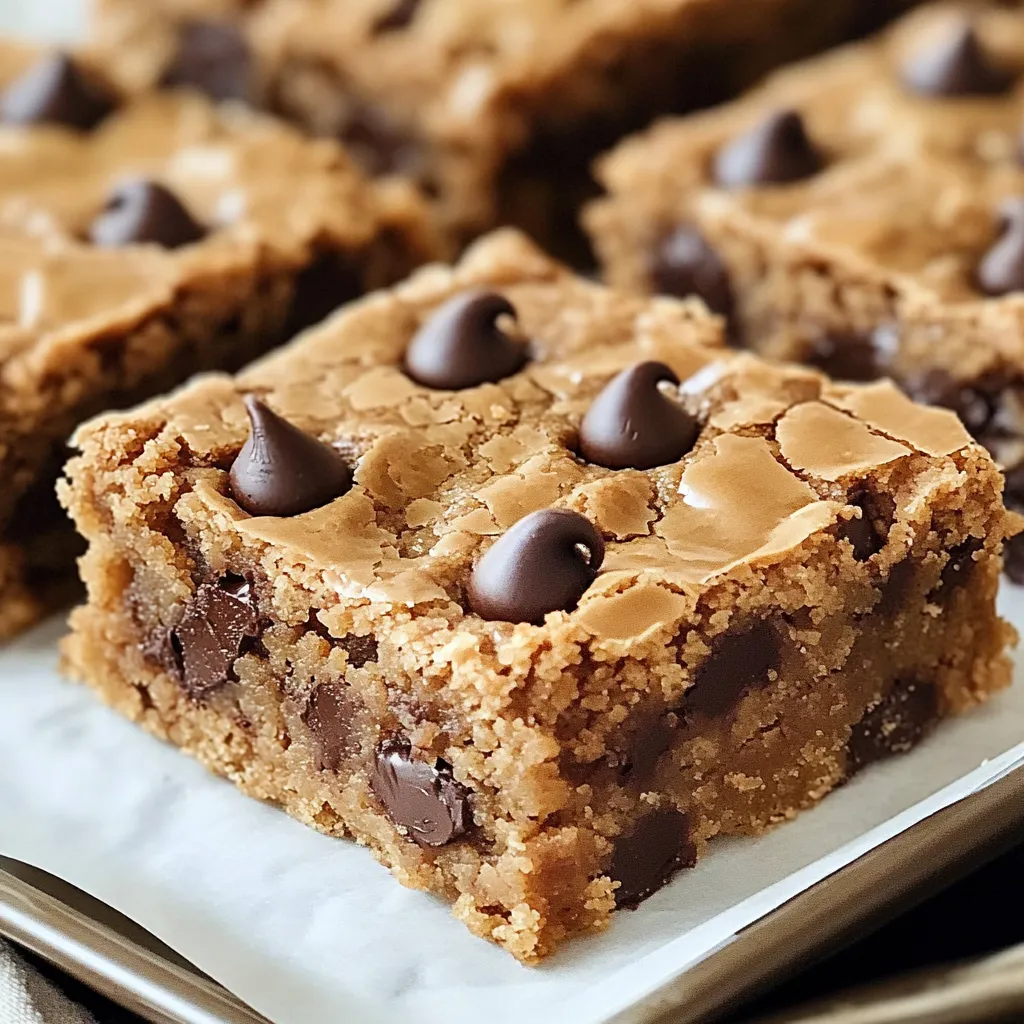
This peanut butter chocolate chip cookie bar recipe transforms two beloved classics into one irresistible treat. The perfect balance of peanut butter richness and chocolate sweetness creates bars that are chewy in the center with perfectly crisp edges.
I first created these bars when my daughter needed something for a bake sale on short notice. They disappeared faster than any other treat on the table, and now they're our go-to dessert whenever we need to impress without stress.
Ingredients
- Creamy peanut butter: use a commercial brand like Jif or Skippy for consistent results and that classic nostalgic flavor
- Unsalted butter: softened to room temperature ensures proper creaming and even distribution throughout the dough
- Granulated sugar: creates that essential crisp exterior we all love on perfect cookie bars
- Light brown sugar: packed tightly for accurate measurement provides moisture and deep caramel notes
- Large eggs: at room temperature help bind ingredients and create the ideal texture
- Vanilla extract: use pure not imitation for the best flavor profile
- All-purpose flour: the foundation of our bars measured by gently spooning into cups and leveling
- Baking powder: fresh is crucial as it provides just the right amount of lift without making them cakey
- Fine sea salt: enhances both the chocolate and peanut butter flavors while balancing sweetness
- Peanut butter chips: double down on the nutty flavor and create pockets of creamy goodness throughout
- Semi-sweet chocolate chips: the perfect chocolate that melts beautifully and balances the sweetness
Step-by-Step Instructions
- Prepare Your Station:
- Turn your oven to 375°F and get it heating while you work. Line your baking pan with parchment paper, allowing some overhang on the sides to create handles for easy removal later. This step saves so much cleanup time and prevents any sticking issues.
- Mix Dry Ingredients:
- Whisk together flour, baking powder, and salt in a large bowl until thoroughly combined. This even distribution ensures no surprise pockets of baking powder or salt in your finished bars. Set this bowl aside for now.
- Create The Base:
- In your mixing bowl, combine the softened butter and peanut butter. Beat for about 2 minutes until completely smooth and integrated. The mixture should be fluffy and light in color, indicating you've incorporated enough air into the base.
- Build The Structure:
- Add both white and brown sugars gradually while continuing to mix. This slow addition creates tiny air pockets that give your bars structure. Continue beating for about 3 minutes until the mixture lightens in color and texture becomes noticeably fluffier.
- Add Moisture Elements:
- Incorporate eggs one at a time, mixing for about 30 seconds after each addition until fully absorbed. Add vanilla and mix until just combined. The mixture should now look glossy and smooth with no streaks.
- Form The Dough:
- Add your dry ingredient mixture to the wet ingredients in three batches, mixing on low speed just until no dry streaks remain. Overmixing at this stage will develop too much gluten, resulting in tough bars.
- Add Mix-Ins:
- Fold in both peanut butter and chocolate chips using a spatula until evenly distributed throughout the dough. This gentle handling preserves the air bubbles you've worked to incorporate.
- Transfer And Shape:
- Press the dough evenly into your prepared pan, making sure to push it into the corners. Flatten the top gently with slightly damp hands to ensure even baking.
- Bake To Perfection:
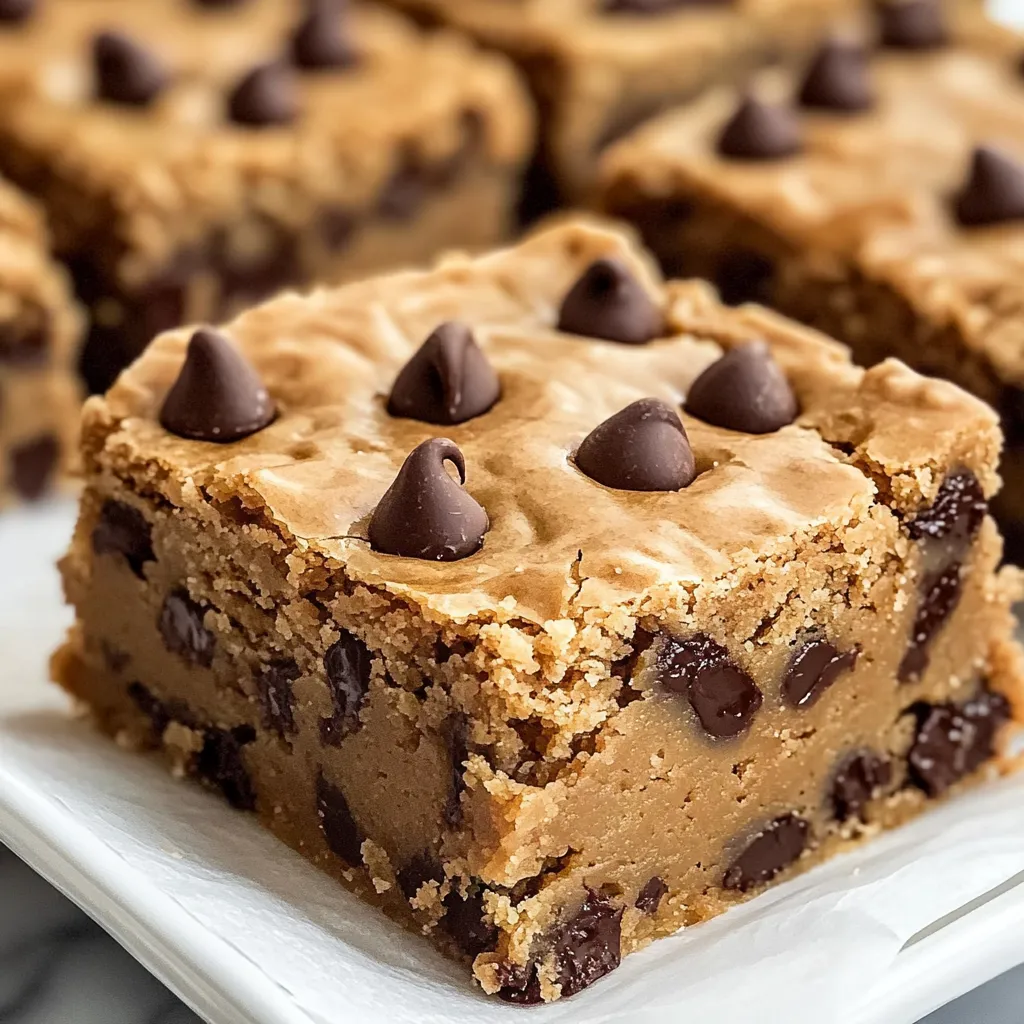
- Place in the center rack of your oven and bake for 25 to 30 minutes. Look for golden brown edges and a top that appears set but still slightly soft in the center. The toothpick test should show moist crumbs but no wet batter.
- Cool And Cut:
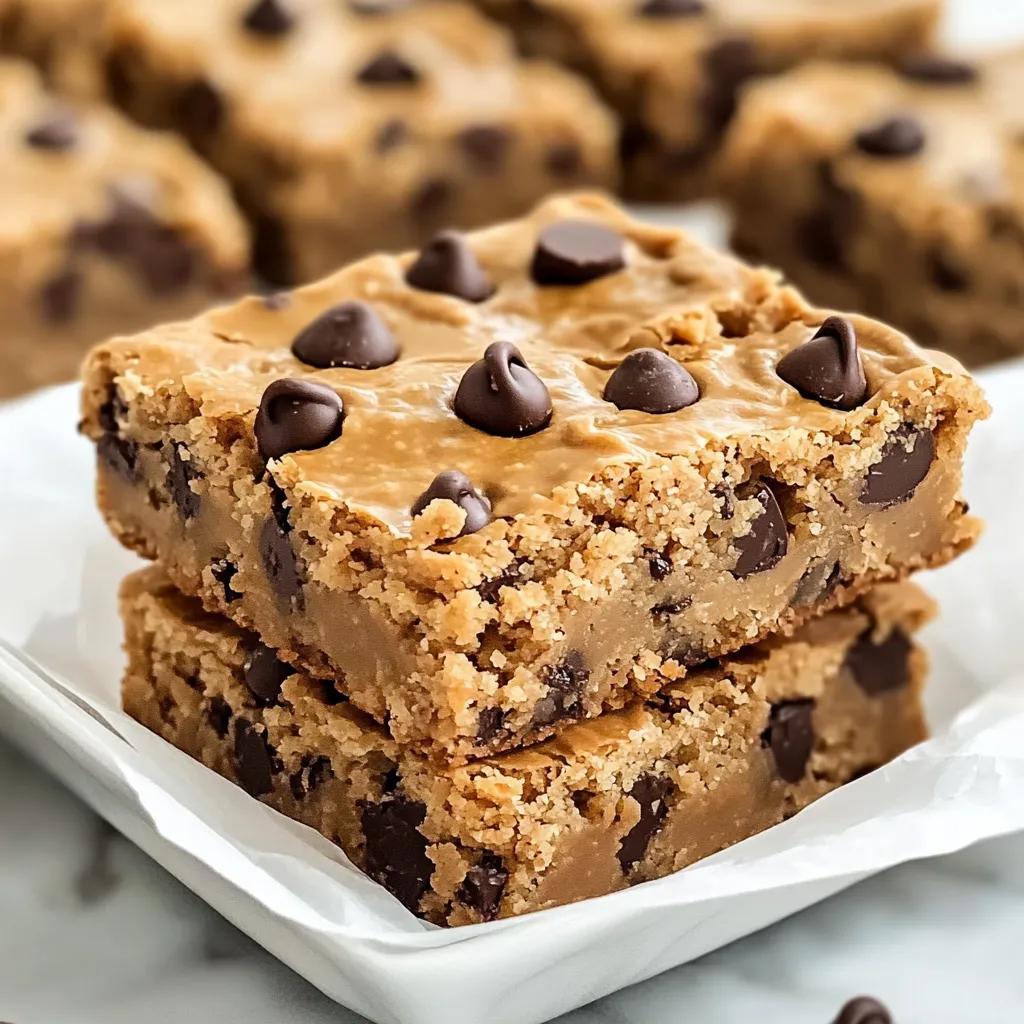
- Allow bars to cool completely in the pan for at least one hour. This cooling time lets the bars set properly and develops flavor. Once cool, use the parchment paper handles to lift the entire sheet out, then cut into squares of desired size.
 Pin it
The peanut butter chips are my secret weapon in this recipe. While many similar recipes use only chocolate chips, the peanut butter morsels create pockets of intense flavor that make these bars truly memorable. My husband, who initially questioned why I needed two types of chips, now specifically requests I never make these without both varieties.
Perfect Texture Tips
The key to achieving that ideal chewy center with slightly crisp edges lies in not overbaking these bars. Even two minutes too long can take them from perfect to dry. Start checking at the 23-minute mark by gently pressing the center with your finger. It should feel set but still yield slightly to pressure. Remember that carryover cooking continues after removal from the oven, so slightly underbaking is preferable to overbaking.
Make Them Your Own
These versatile bars welcome customization based on your preferences or pantry. Try swapping half the chocolate chips for butterscotch chips for a different flavor profile. White chocolate chunks work beautifully for a sweeter version. For texture contrast, add 1/2 cup of chopped peanuts or even crushed pretzels to the batter. During holiday seasons, consider pressing seasonal colored candies on top immediately after baking for festive appeal.
 Pin it
Serving Suggestions
While these bars are absolutely delightful on their own, they reach new heights of decadence when served warm with a scoop of vanilla ice cream. For an extraordinary dessert experience, microwave a bar for 15 seconds then drizzle with warm chocolate sauce or caramel. These also make excellent care package items as they travel well without crumbling. Consider cutting into smaller pieces and arranging on a platter for potlucks or office gatherings.
Storage Solutions
These bars maintain their quality beautifully when stored properly. Keep them at room temperature in an airtight container with parchment paper between layers for 3 to 5 days. For longer storage, wrap individual bars in plastic wrap then place in a freezer bag for up to 3 months. Thaw at room temperature for about an hour before serving, or microwave for 20 seconds for that fresh-baked warmth.
Frequently Asked Questions
- → Can I substitute creamy peanut butter for crunchy?
Yes, you can use crunchy peanut butter if you like added texture in your bars. Just ensure it's not too oily.
- → What is the best way to store these cookie bars?
Store the bars in an airtight container at room temperature for up to 5 days. For longer storage, freeze them for up to 3 months.
- → Can I use dark chocolate chips instead of semi-sweet?
Absolutely! Dark chocolate chips work wonderfully if you prefer a deeper, less sweet chocolate flavor.
- → Why is parchment paper recommended for the baking pan?
Parchment paper helps prevent sticking and makes it easier to lift the bars out of the pan after they’ve cooled.
- → Can I turn this into a gluten-free dessert?
Yes, replace the all-purpose flour with a 1-to-1 gluten-free baking flour blend for a gluten-free version.